Green Hutch Cabinet Paint, Prep & Styling Guide
Green Hutch Cabinet: What I Wish Someone Told Me Before I Painted Mine
My grandmother’s hutch sat in my garage for two years because I couldn’t decide what to do with it.
It was solid oak, ugly orange-brown finish, the kind of piece that’s too good to toss but too dated to just plop into a modern room. Then I saw a green hutch on someone’s Instagram story and thought, that’s it, that’s the move. I bought a quart of chalk paint that same weekend without doing a single bit of research. Big mistake, but also the best accident I’ve made in this house.
If you’re thinking about a green hutch cabinet, whether you’re painting one yourself or shopping for one, there’s more to it than picking a pretty shade of green. I’ve now painted two, helped a friend pick a green shade for hers, and returned one green-hutch-adjacent piece I bought online because the photos lied to me about the color. Here’s what actually matters.
Why Green Hutches Are Having a Moment
Green has become the go-to statement color for cabinetry and case furniture because it sits in this weird sweet spot — bold enough to be a focal point, but earthy enough to not clash with wood tones, neutrals, or even other colors in the room.
A hutch specifically is a great candidate for this treatment because it’s usually a big, flat-surfaced piece with visible panels. That gives the color room to actually read as a statement instead of getting lost in trim details.
1. Pick the Right Green for Your Space
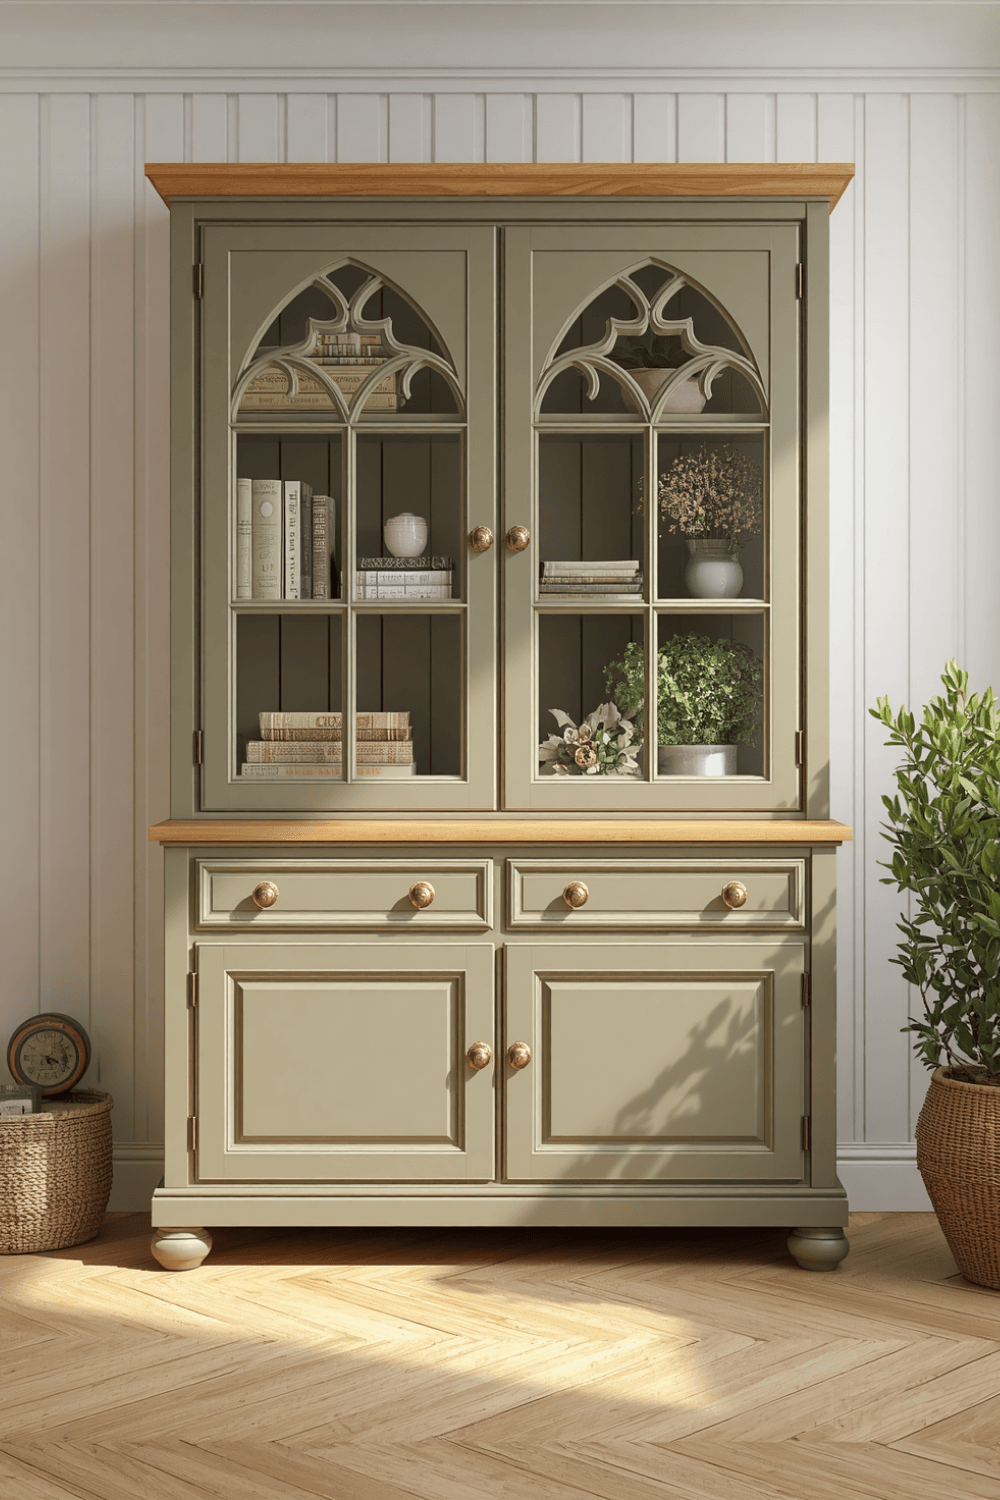 This sounds obvious until you’re standing in the paint aisle overwhelmed by forty shades that all look identical on tiny cards.
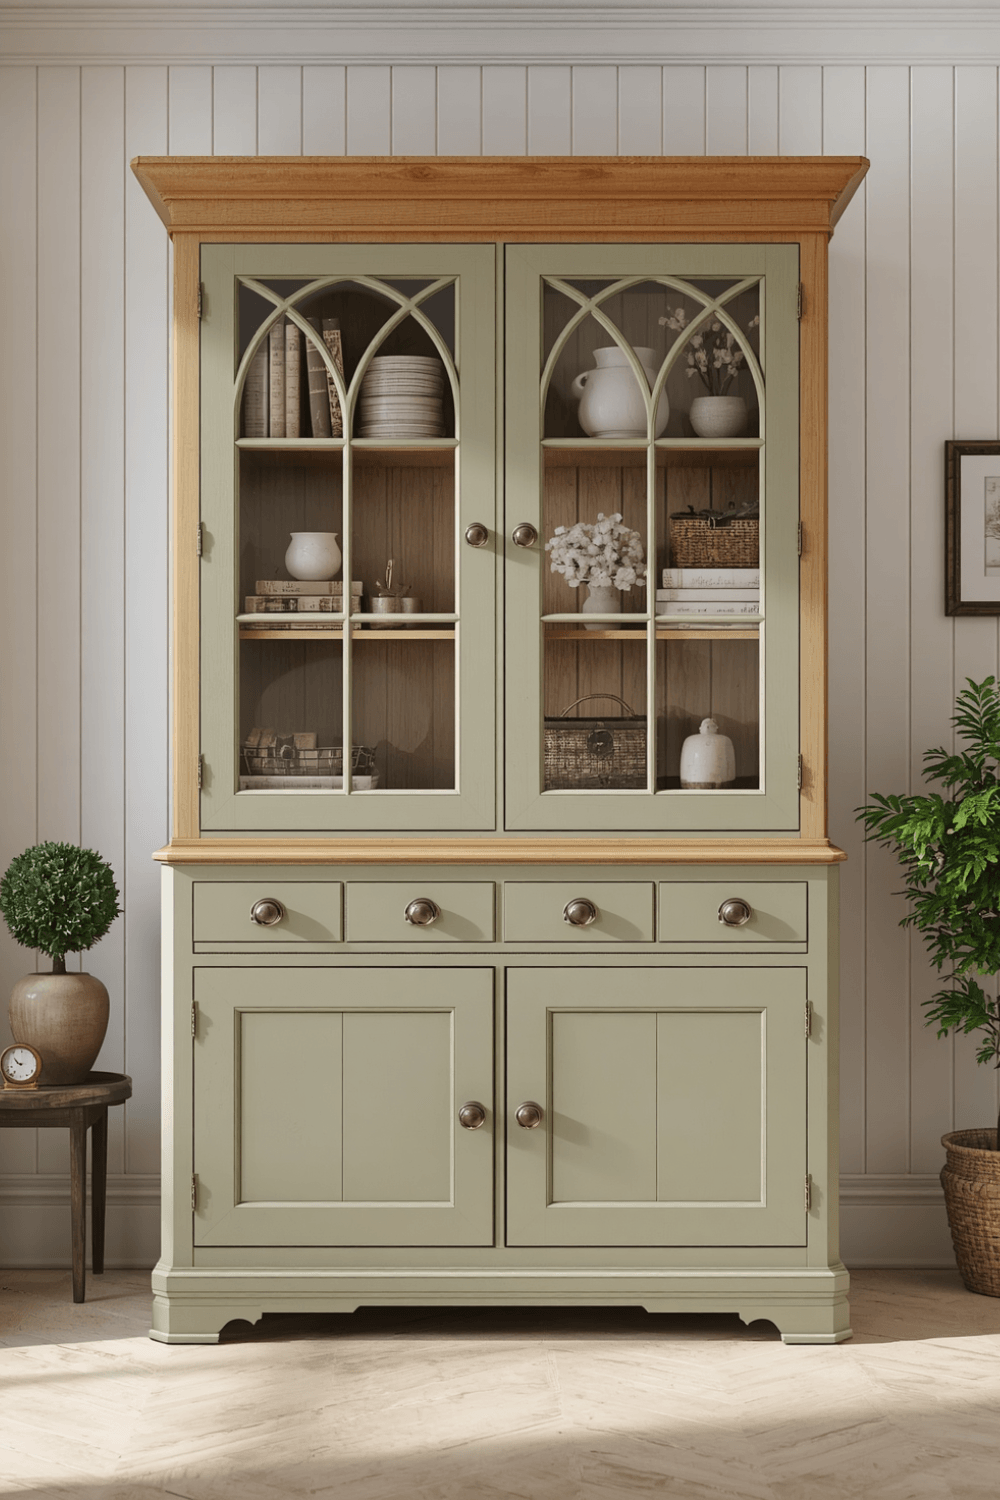
2. Sage or muted olive green
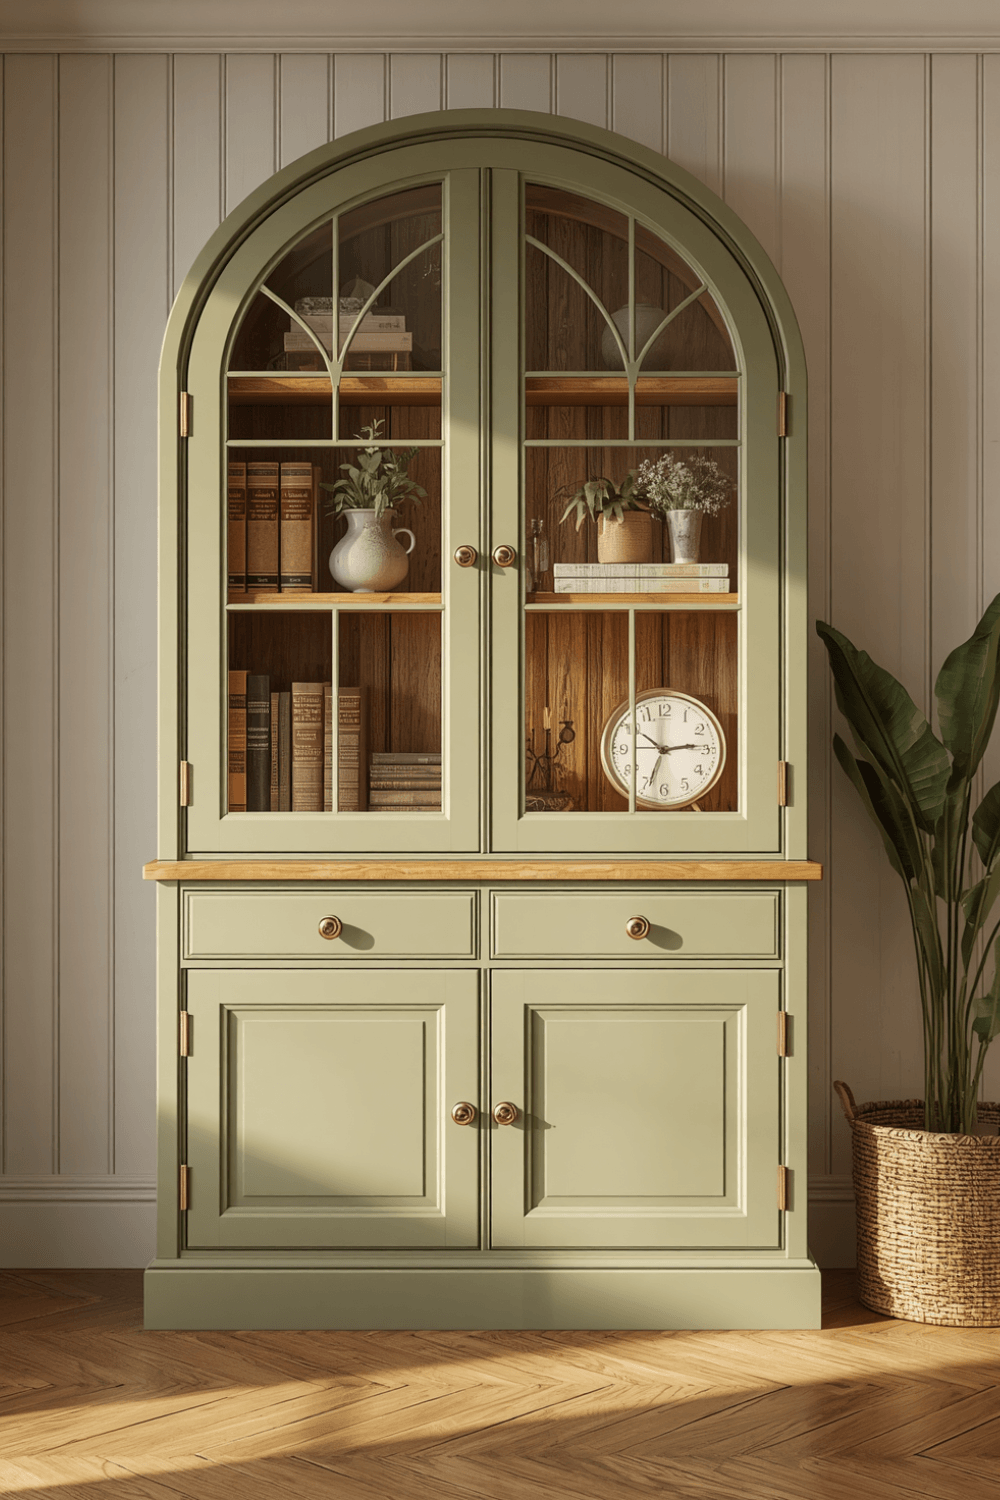 works in almost any room because it reads more neutral than “colorful.” This is the safest choice if you’re nervous about commitment.
3. Forest or hunter green
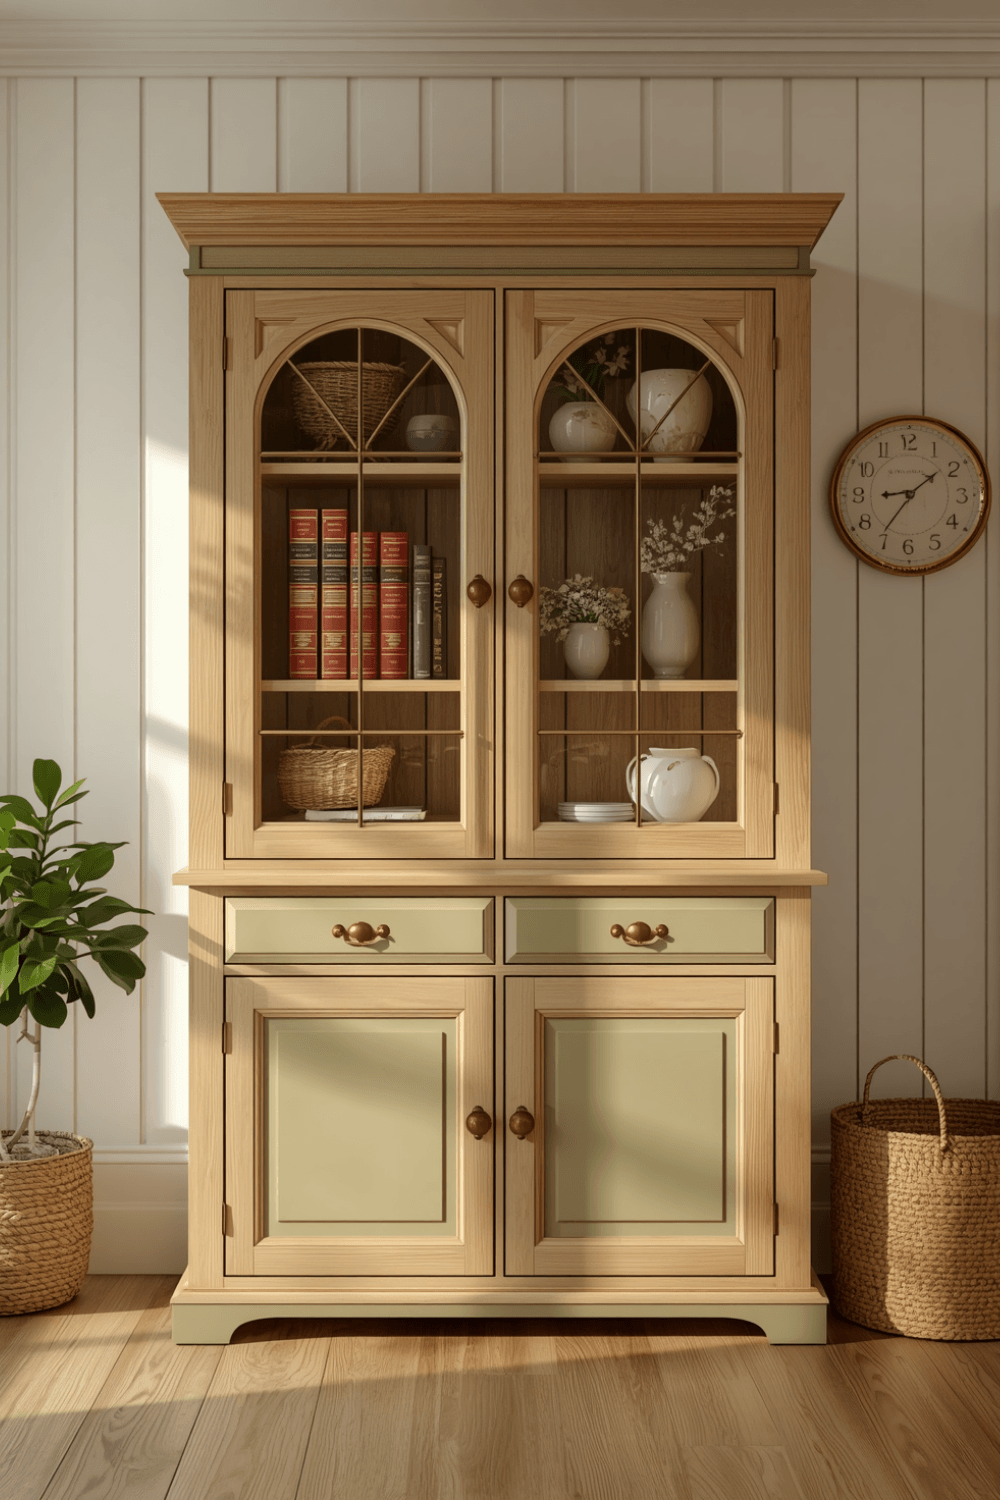 Is dramatic and works best in rooms with good natural light or as an accent against white or cream walls. I tried this in a room with limited light once and it read almost black by evening.
4. Emerald or jewel-toned green
 Is the boldest option. Gorgeous in dining rooms or as a kitchen hutch, but it can overwhelm a small space fast.
Test a sample on the actual piece, not just the wall. Wood absorbs and reflects paint differently than drywall, and I learned this the hard way when my “soft sage” sample on cardboard looked nothing like it did on the oak grain of my hutch.
Step 2: Prep Work Actually Matters (Don’t Skip It)
I skipped sanding on my first attempt because I was impatient. The paint chipped within four months on the corners where I open the doors most.
If you’re painting an existing hutch:
- Remove all hardware first. I know it’s tempting to paint around knobs and pulls. Don’t. It always looks sloppy up close.
- Clean the surface with a degreaser, especially if it’s ever lived in a kitchen. Grease under paint is a recipe for peeling.
- Lightly sand with 220-grit sandpaper to give the paint something to grip. You’re not trying to strip it down to bare wood, just knock off the shine.
- Use a bonding primer if the piece has a glossy factory finish. I use Zinsser Bulls Eye 1-2-3 for this and it’s saved every piece I’ve touched since.
Skipping steps 2 through 4 is the single most common reason DIY hutches end up chipping or peeling within the first year.
Step 3: Choose the Right Paint Finish
Chalk paint gets recommended constantly for furniture, and it’s fine, but it’s not always the best call for a piece that gets opened and closed daily.
For a hutch that sees real use, I switched to a mineral paint (I’ve had good luck with Fusion Mineral Paint) or a satin enamel. Both hold up better to hands, keys being set down, and general wear than straight chalk paint without a topcoat.
If you do use chalk paint, seal it. A matte or satin polyurethane on top makes a real difference in how long the color stays looking fresh instead of dingy.
Step 4: Styling a Green Hutch So It Doesn’t Look Like a Craft Project
This is where a lot of green hutches go from “statement piece” to “that thing my aunt painted.”
A few things that made mine look intentional instead of accidental:
- Keep the hardware simple. I swapped the original brass knobs for matte black ones, and it instantly looked more current.
- Don’t overfill the shelves. My first instinct was to fill every shelf with dishes and decor. It looked cluttered and fought with the bold color. Less is genuinely more here.
- Mix in neutral objects. White ceramics, woven baskets, or plain glassware let the green do the talking instead of competing with more color.
- Add one metallic accent. A brass lamp or a gold-rimmed vase against the green gives it a little polish without going overboard.
Real Example: How I Actually Styled Mine
My hutch lives in my dining room now, against a warm white wall. I kept the top shelves mostly empty except for a stack of white plates and one small plant. The bottom cabinets are closed storage, so nobody sees the mismatched Tupperware I’ve got hiding in there.
The unexpected result? It became the first thing people notice when they walk in, more than any other piece in the room, including furniture that cost way more.
Common Mistakes to Avoid
Rushing the paint prep. This is the number one reason people end up repainting within a year. Sand, clean, prime. Every time.
Matching the green to nothing else in the room. A bold green piece needs at least one other place in the room echoing it, even subtly, whether that’s a throw pillow, a plant, or artwork. Otherwise it looks randomly plopped in.
Going too dark in a low-light room. I mentioned this above, but it’s worth repeating. Test your color at different times of day before committing to a full piece.
Overcrowding the shelves. A statement piece needs breathing room to actually read as a statement.
Skipping the topcoat. Paint without sealant on a high-touch piece like a hutch will show wear fast, especially around handles and edges.
Final Thoughts
That hutch sat in my garage for two years because I was overthinking it, and then I underthought the actual painting part and had to redo half my work six months later. Somewhere in between those two extremes is the right approach: pick a green that actually suits your light and space, prep the piece properly, and let it breathe once it’s styled. It’s turned into my favorite piece in the house, chipped corners and all from that first rushed attempt still barely visible if you know where to look.