Crochet Flower Wall Hanging Ideas That Actually Hold Shape
Crochet Flower Wall Hanging Ideas: What I Learned Making One That Didn’t Sag Within a Week
I got genuinely excited after seeing a crochet flower wall hanging online and decided to make one for my reading nook without really researching much beforehand. I used whatever yarn I had leftover from an old blanket project, hung it up feeling proud of myself, and within a week the whole thing had stretched and sagged into a droopy, lopsided mess that looked nothing like my original vision.
That disappointing result actually taught me more about yarn weight, backing materials, and mounting technique than any tutorial I’d skimmed through beforehand. My second attempt has held its shape perfectly for over a year now, and here’s everything that actually made the difference.
Not All Yarn Holds a Flower Shape the Same Way
This was honestly the biggest lesson from my first failed attempt. I used a soft, stretchy acrylic yarn because it’s what I had on hand, and it simply couldn’t hold the structured shape a flower wall hanging needs. Soft, drapey yarns are wonderful for blankets and scarves, but they’re actually working against you when you need petals and shapes to hold their form on a vertical wall display.
Switching to a sturdier cotton yarn for my second attempt made an immediate, obvious difference in how well the shapes held up over time.
My Mistake: No Backing or Structure Behind the Flowers
Beyond the yarn choice, my original piece had zero backing material, just crocheted flowers attached directly to a dowel with nothing supporting their shape from behind. Gravity did exactly what you’d expect over time, and everything slowly drooped and lost its dimension.
Adding a simple felt or macrame cord backing behind each flower on my second attempt gave the whole piece actual structure to hold onto, instead of relying purely on the yarn to maintain its shape indefinitely.
Step-by-Step: Making a Crochet Flower Wall Hanging That Actually Lasts
1. Choose a sturdier yarn weight for structured shapes
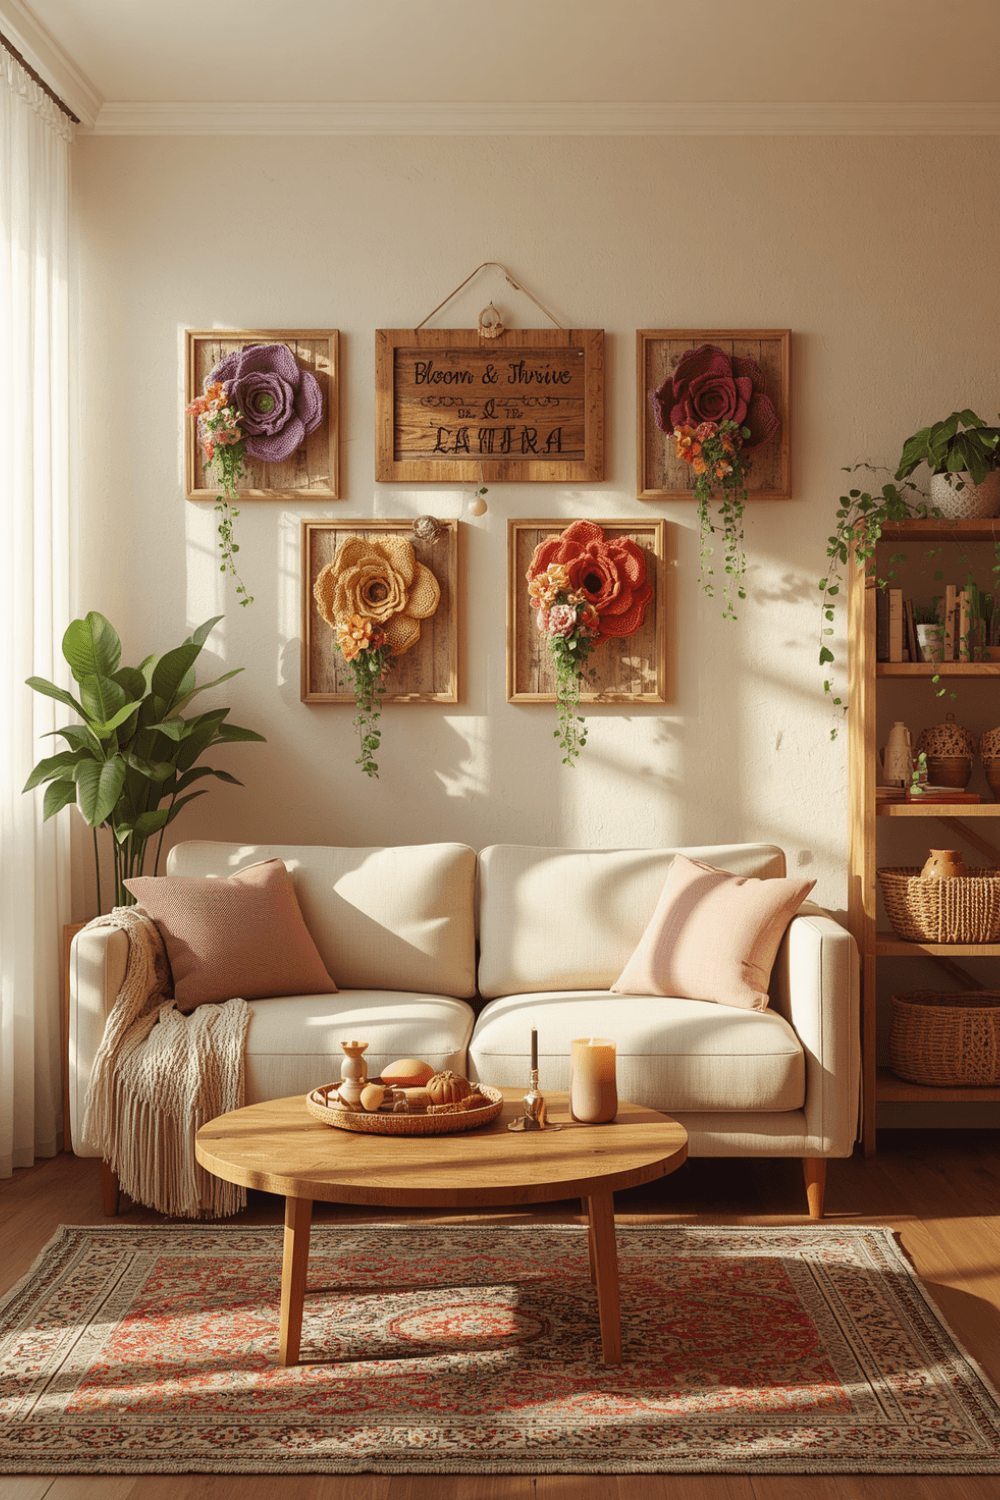 I switched to a worsted weight cotton yarn, specifically because cotton has less stretch than acrylic and holds crocheted shapes noticeably better over time. If you’re using a pattern that calls for a specific yarn, it’s worth sticking close to that recommendation rather than substituting based purely on what you already own.
2. Use a smaller hook size than the yarn label suggests
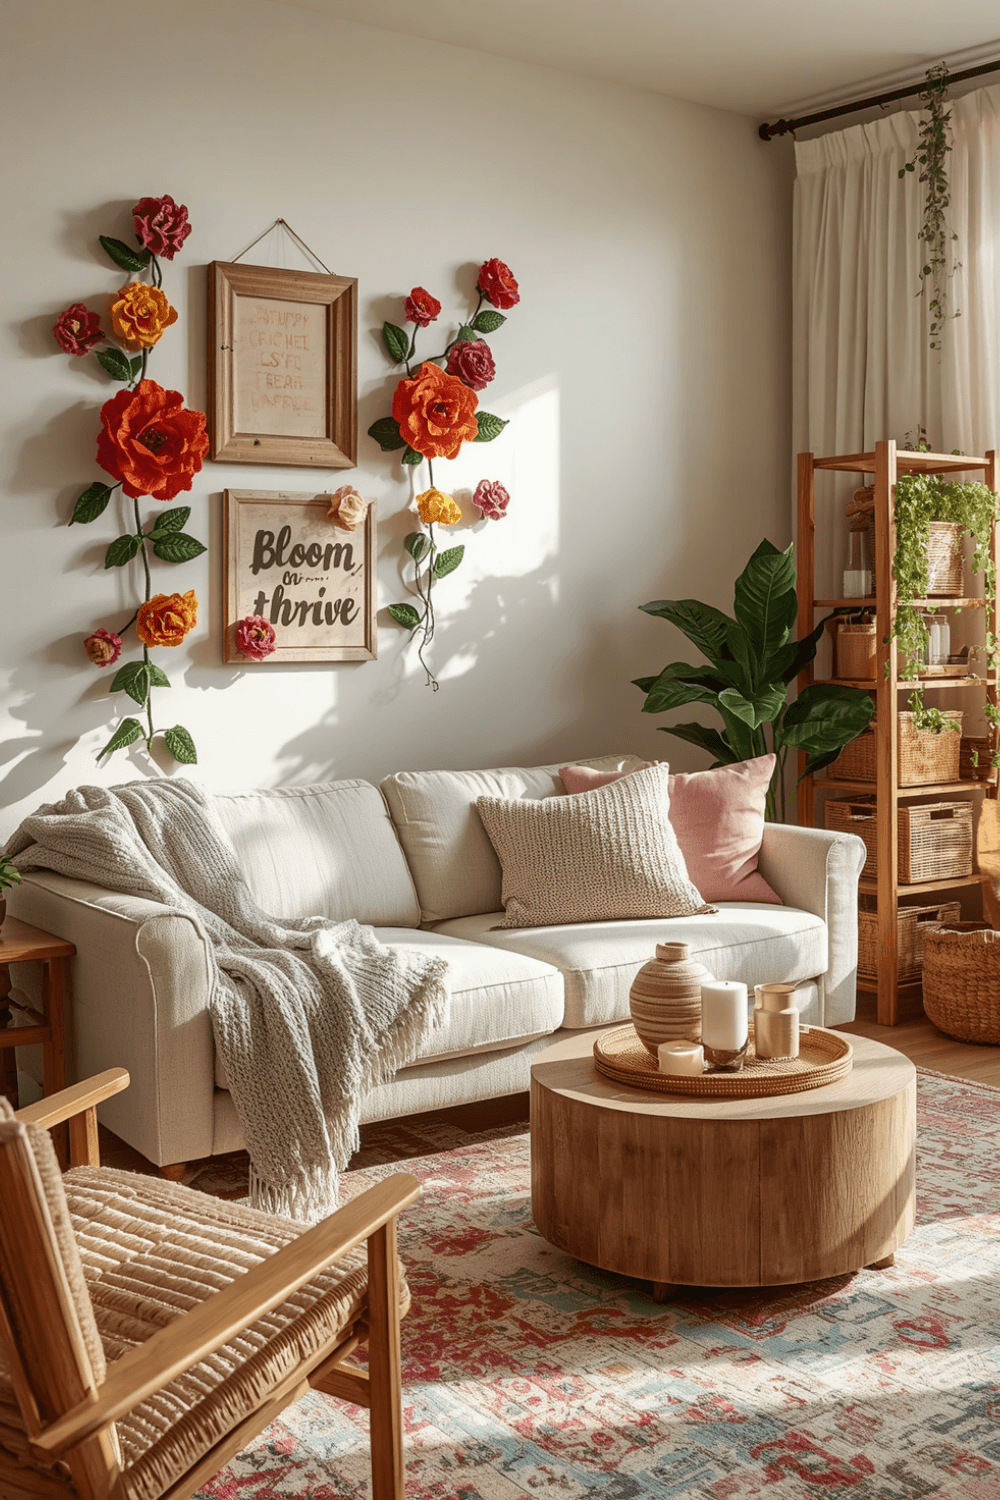 I sized down slightly from the hook size recommended on my yarn label, which created a tighter, denser stitch that held the flower shapes more firmly. A looser stitch tends to stretch and lose definition faster, especially once gravity gets involved on a hanging piece.
3. Block your finished flowers before assembling the piece
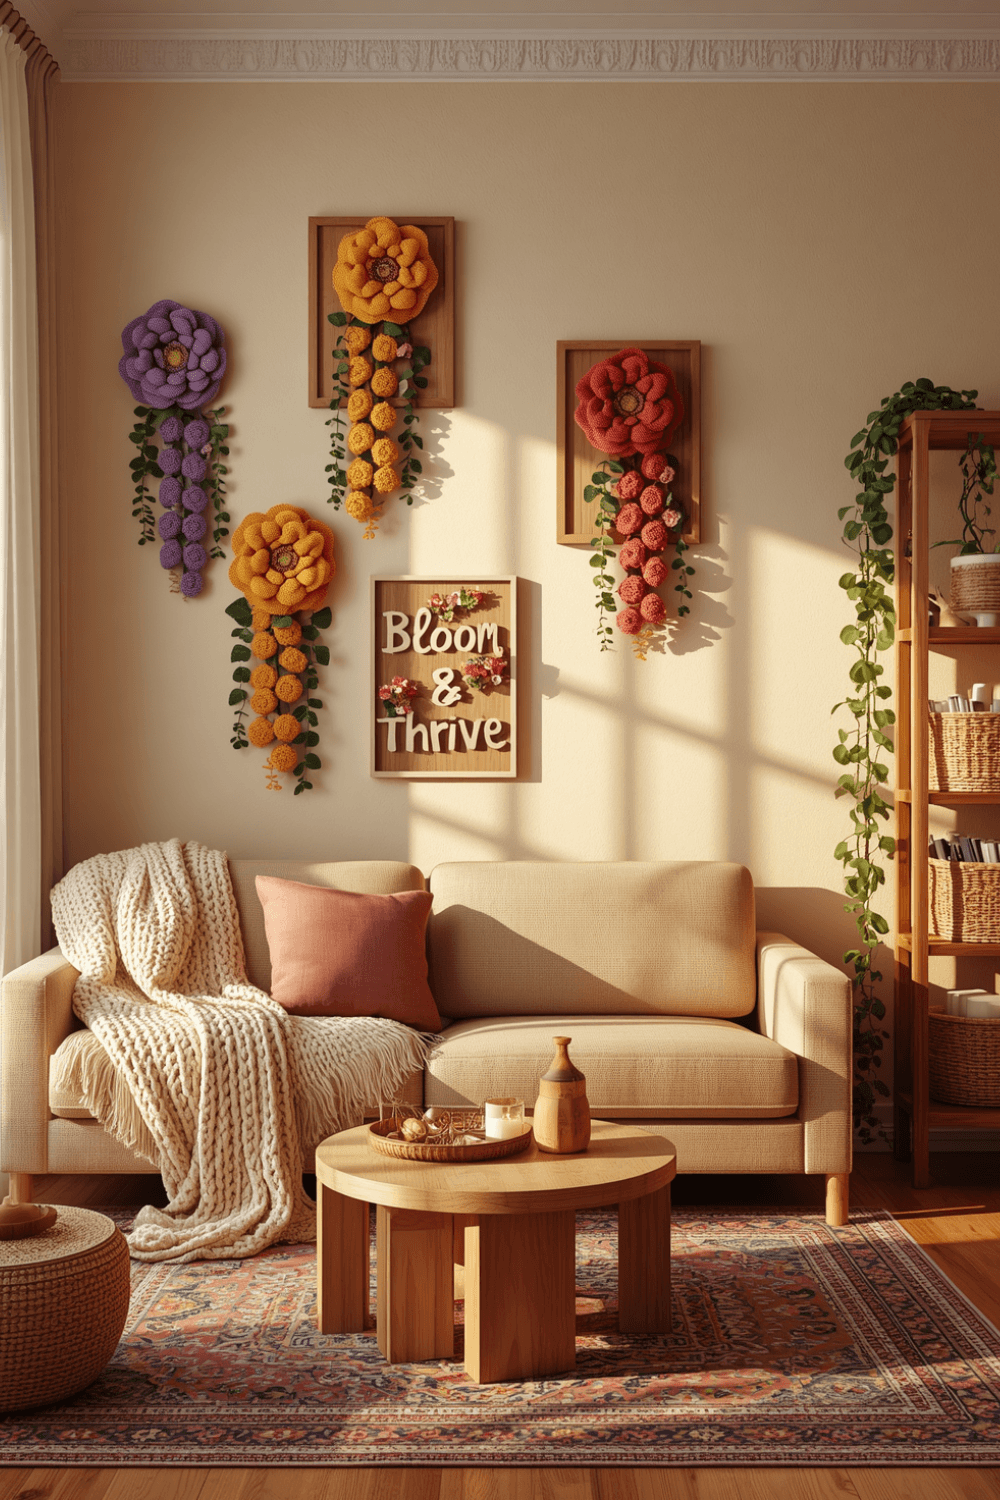 I wet-blocked each individual flower, pinning them into shape and letting them dry completely before attaching anything to the backing. This step alone dramatically improved how crisp and defined the petals looked compared to my unblocked first attempt, which never quite held a consistent shape.
4. Add a felt or fabric backing behind each flower
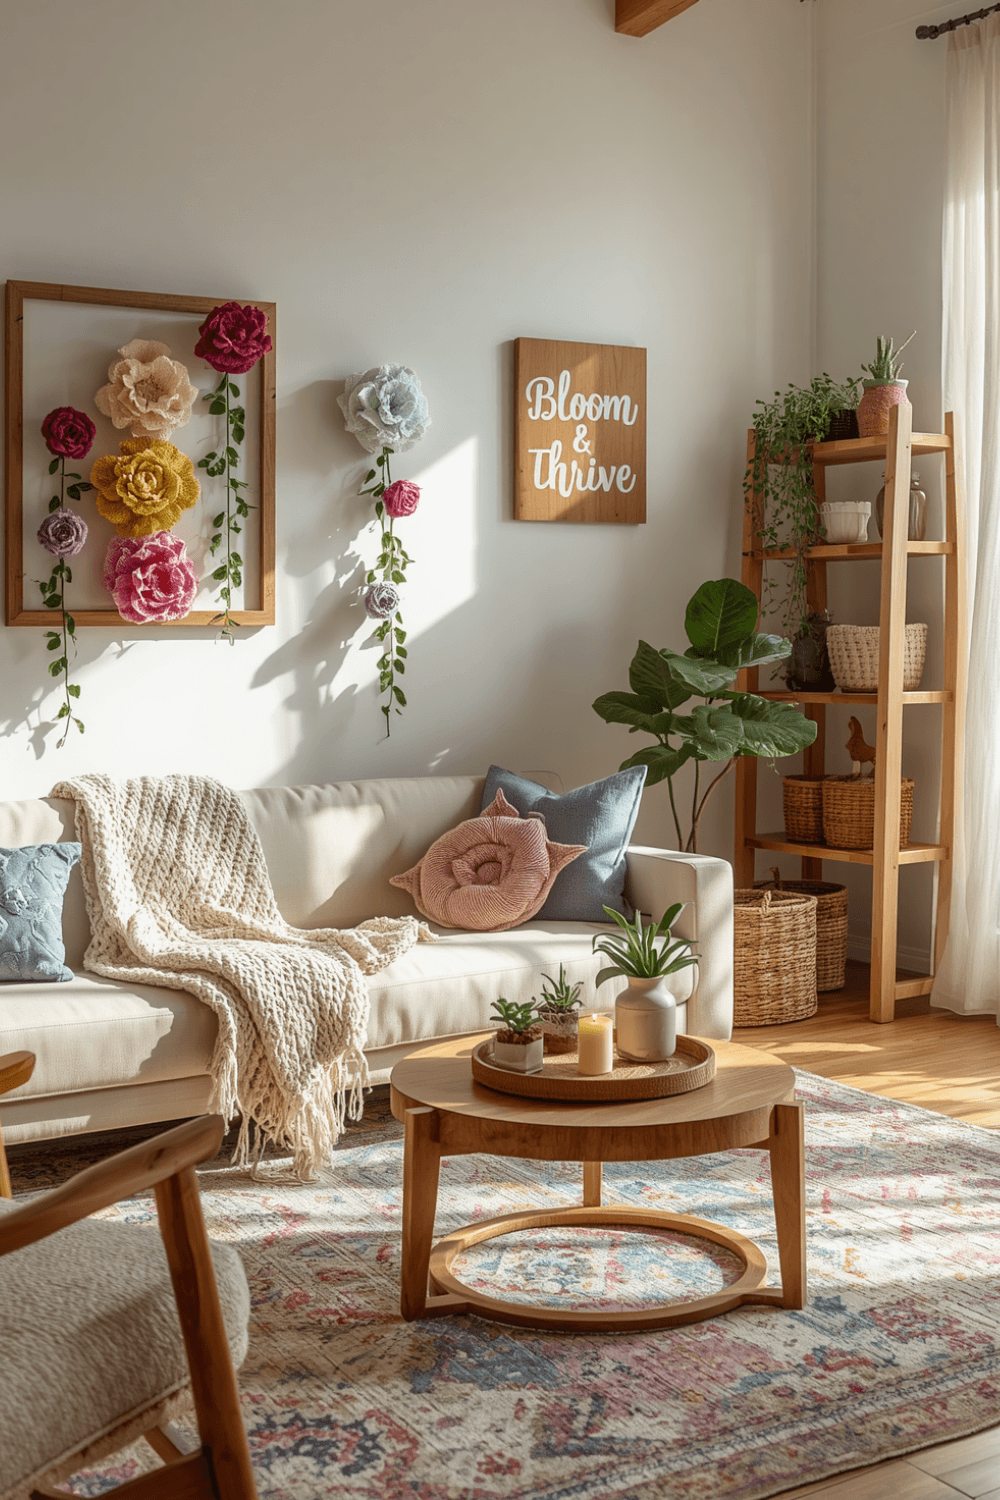 I cut small circles of felt slightly smaller than each flower and hand-stitched them to the back, which gave the pieces actual structural support instead of relying entirely on the yarn’s own stiffness. It’s a simple addition that made a genuinely noticeable difference in how well everything held its form.
5. Choose a sturdy mounting method for the overall piece
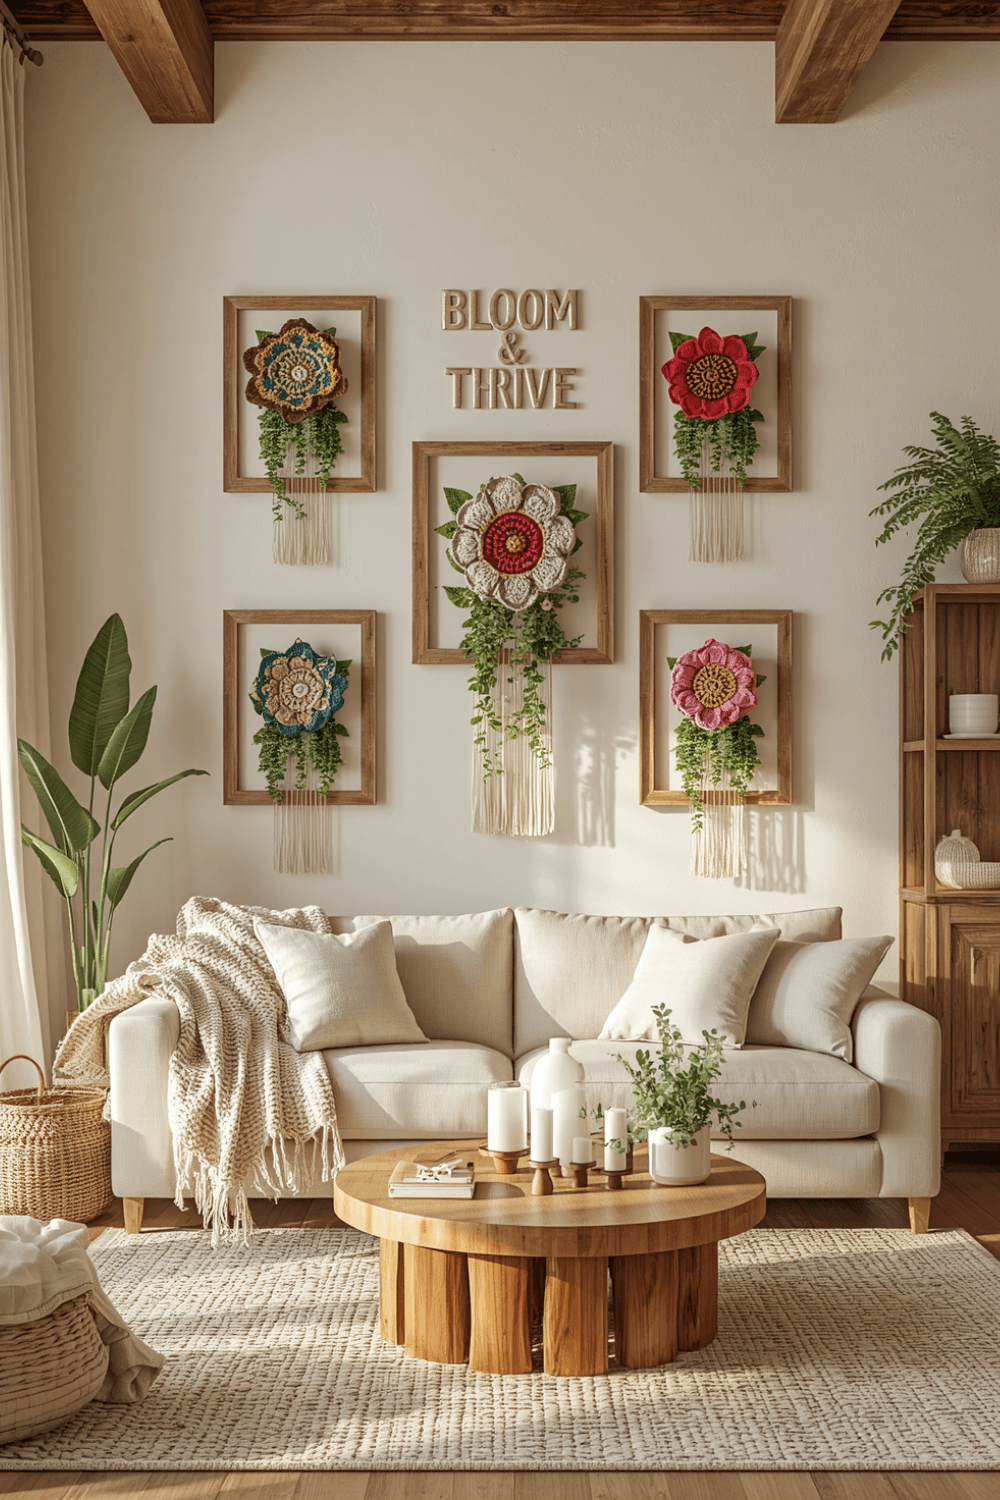 My original attempt used a thin dowel that bowed slightly under the weight of all the flowers. I switched to a slightly thicker wooden dowel and reinforced the mounting cord with a stronger macrame cord instead of standard yarn, which distributed the weight more evenly and stopped the sagging at the top.
6. Layer flowers at slightly varied depths for dimension
Instead of attaching every flower flat against the backing at the same level, I layered some slightly forward using small fabric spacers behind them. That subtle depth variation made the whole piece look more dimensional and intentional rather than flat, similar to how real floral arrangements naturally vary in depth.
7. Test the finished piece hanging for a few days before finalizing placement
I hung my second attempt temporarily for about a week before committing to permanent wall anchors, specifically to see how it settled and whether any additional support was needed. It gave me confidence the piece would hold up long-term before doing any permanent wall damage from mounting hardware.
Real Examples That Actually Work
A friend who makes and sells these as a small side project told me she exclusively uses cotton or cotton-blend yarns for exactly this reason, and always blocks every piece before assembly. She says skipping the blocking step is the single most common mistake she sees in other makers’ early attempts, based on questions she gets from customers.
Another crafting friend took a different approach entirely, crocheting her flowers around small plastic canvas shapes for extra rigidity before attaching them to the display. It added a bit more upfront work, but she says her pieces have held their shape flawlessly for years without any drooping at all.
Common Mistakes to Avoid
Using soft, stretchy yarn meant for blankets or scarves. It simply can’t hold the structured shape a wall hanging needs over time.
Skipping the blocking step before assembly. Unblocked crochet pieces rarely hold a crisp, consistent shape once they’re hanging vertically.
Attaching flowers with no backing support. Felt or fabric backing gives the piece actual structure instead of relying purely on the yarn.
Using a thin or flimsy dowel for a heavier, multi-flower piece. It can bow or sag under the combined weight over time.
Committing to permanent wall mounting before testing how the piece settles. A temporary test period can reveal issues before you’ve made permanent holes in your wall.
Final Thoughts
My first crochet flower wall hanging taught me that a beautiful pattern and enthusiasm alone aren’t enough if the materials and structure underneath aren’t set up to actually hold their shape long-term. Switching to sturdier yarn and adding proper backing made the difference between a piece that drooped within a week and one that’s held up perfectly for over a year now.
If you’re planning your own crochet flower wall hanging, choose a sturdier yarn, don’t skip blocking, and add some kind of backing support behind each flower. That combination is really what separates a piece that looks great on day one from one that still looks great a year later.