Modern Wardrobe Design Real Layout Lessons That Actually Work
Modern Wardrobe Design: What I Learned After Getting Mine Completely Wrong the First Time
When I built my first “custom” wardrobe, I designed the whole thing around how it would look in photos. Clean white doors, a sleek handle-less design, minimal shelving. It looked amazing for about two weeks, right up until I actually tried to use it daily and realized there was nowhere to put half my clothes.
Folded sweaters ended up in a pile on a chair. Shoes lived in boxes on the floor because I hadn’t planned for them at all. I basically built a beautiful wardrobe that didn’t function like a wardrobe. It took a full redesign a year later to actually get it right, and here’s everything that changed.
Modern Doesn’t Mean Minimal Storage
This was my biggest misunderstanding going in. I thought “modern wardrobe design” meant stripping everything down to as few visible compartments as possible. What it actually means, at least from every functional wardrobe I’ve seen since, is clean lines on the outside and genuinely smart, well-planned storage on the inside.
The sleek look and the practical function aren’t opposites. You just have to plan the inside with as much intention as the outside, which is exactly the part I skipped the first time around.
My Original Mistake: Designing for Looks, Not for My Actual Clothes
I never sat down and actually counted or categorized what I owned before designing the layout. I guessed. I assumed I’d need mostly hanging space, so that’s what I built — one long row of hanging rods and almost no shelving or drawers.
Turns out I own way more folded items than hanging ones. T-shirts, sweaters, workout clothes, all needing shelf or drawer space I never planned for. The wardrobe looked great and functioned terribly, which is honestly the worst combination when you spent real money on it.
Step-by-Step: Designing a Modern Wardrobe That Actually Works
1. Audit your actual clothes before designing anything
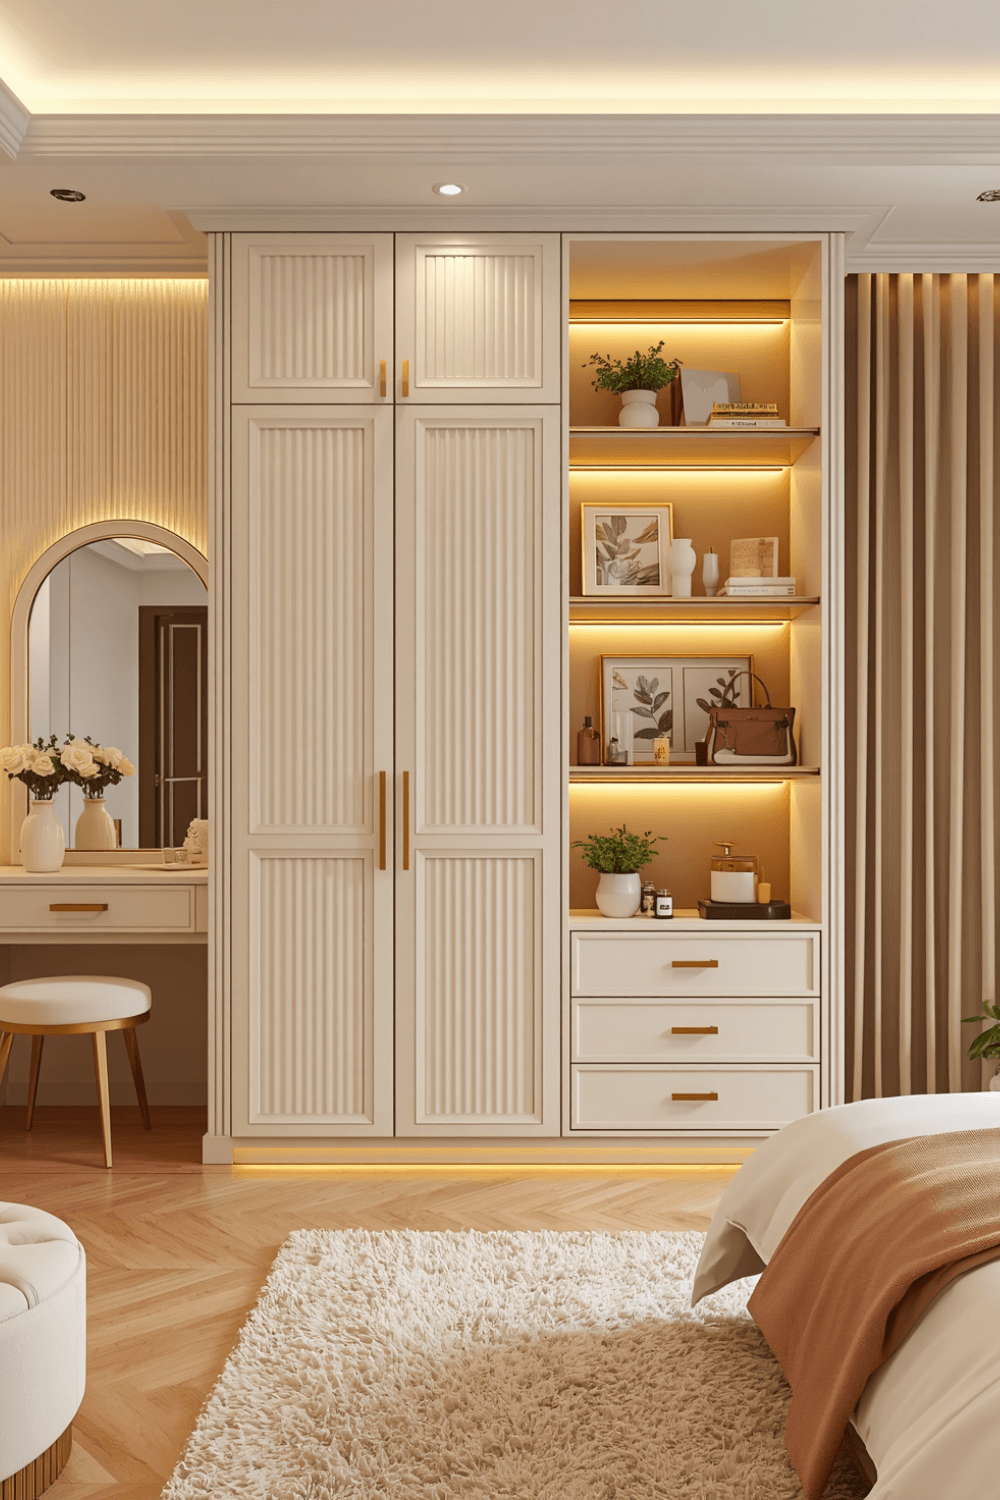
I now recommend actually pulling everything out of your current closet and sorting it into categories — hanging items, folded items, shoes, accessories — before designing a single shelf. I use a simple note on my phone to count roughly how many of each category I have, and it completely changes how you allocate space.
2. Mix hanging space with drawers and shelving
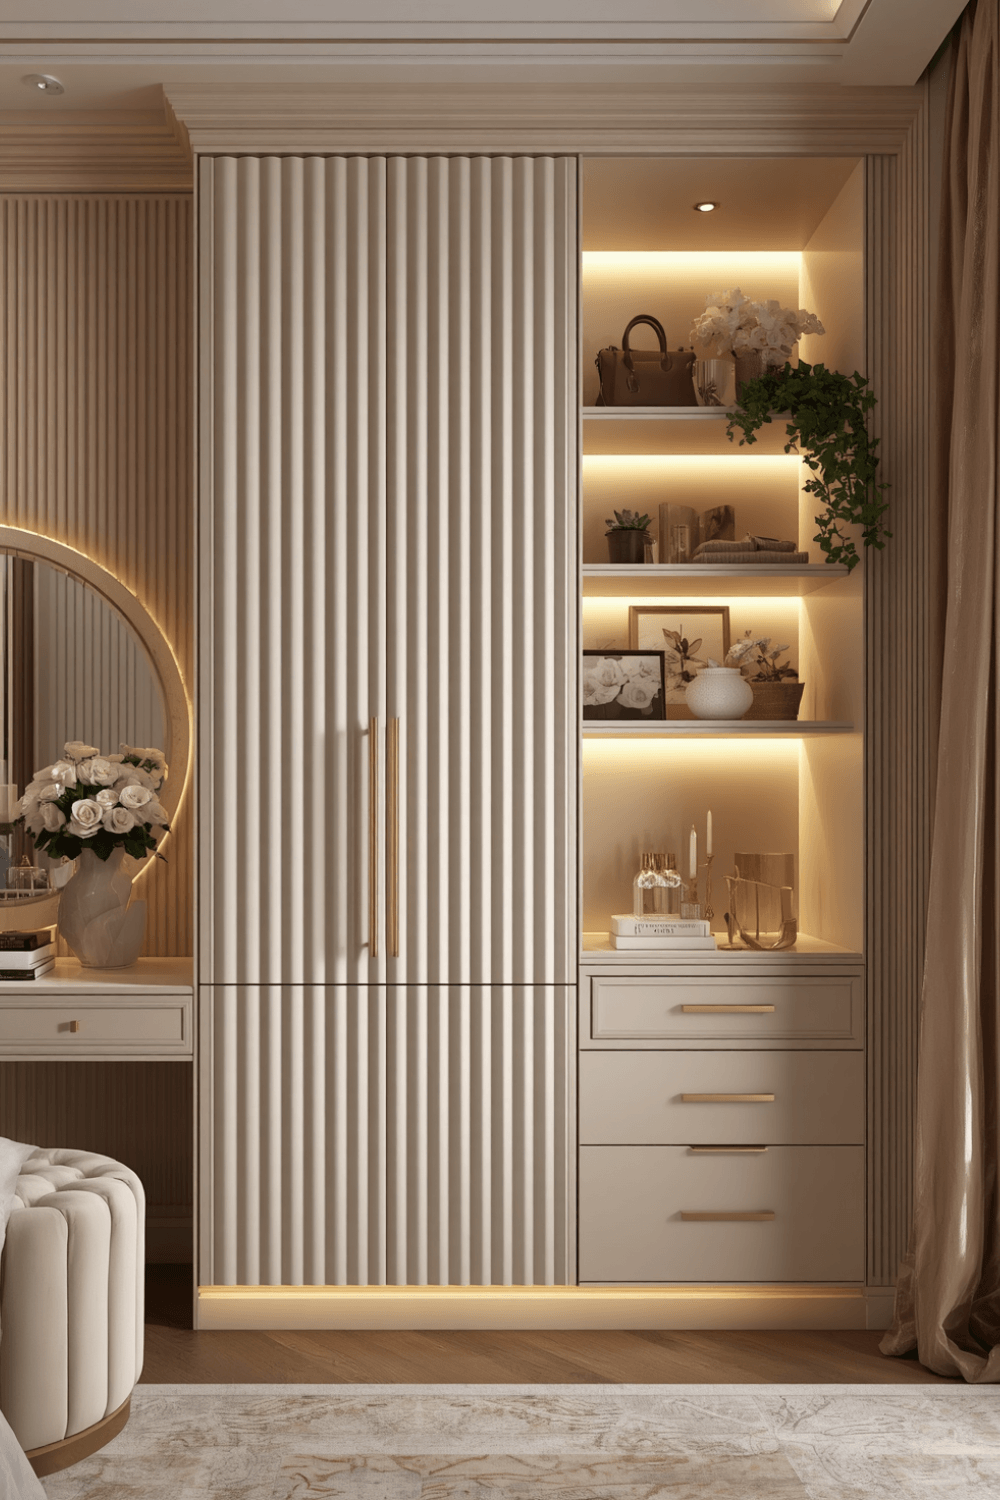
My redesign uses roughly 40% hanging space, 35% shelving, and 25% drawers, based on what I actually own. Your ratio might look completely different depending on your wardrobe, but the key is designing around your real clothes instead of a generic layout you saw online.
3. Use double hanging rods for shorter items
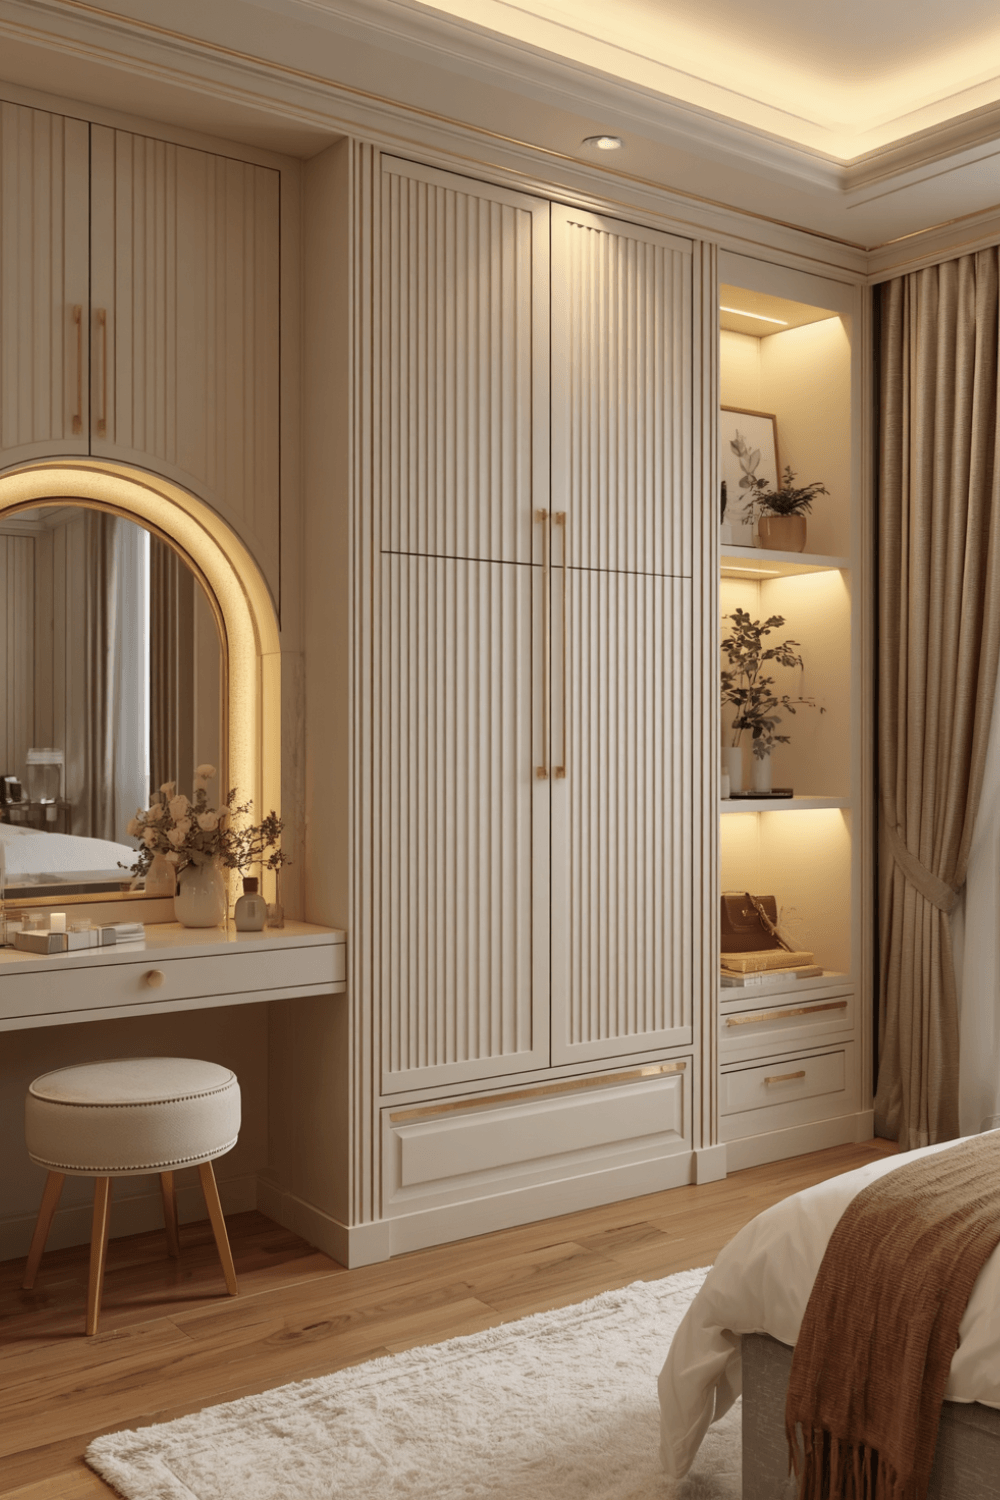
For shirts, folded pants on hangers, and jackets, I added a second rod below the main one to double the hanging capacity in that section. Full-length dresses and coats still get their own single-rod section since they need the extra height.
4. Plan a dedicated shoe zone from the start
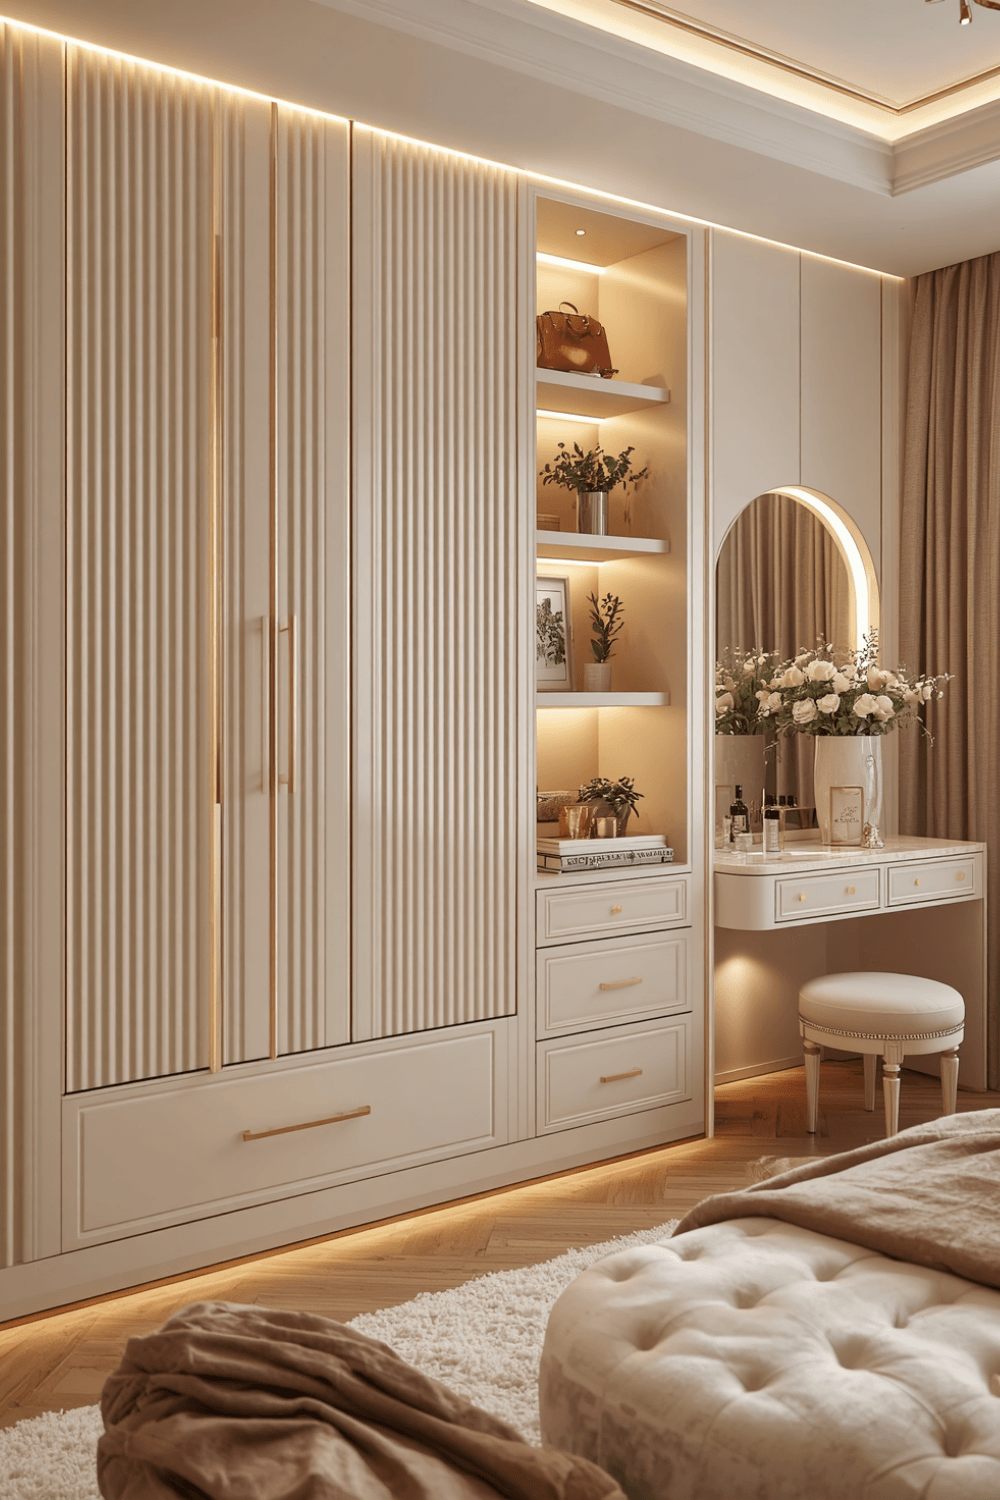
I completely skipped this the first time and regretted it constantly. Now I have angled shoe shelving built into the bottom section, which fits significantly more pairs than flat shelving would in the same amount of space, and keeps them visible instead of stacked in boxes.
5. Add pull-out drawers instead of just open shelves for small items
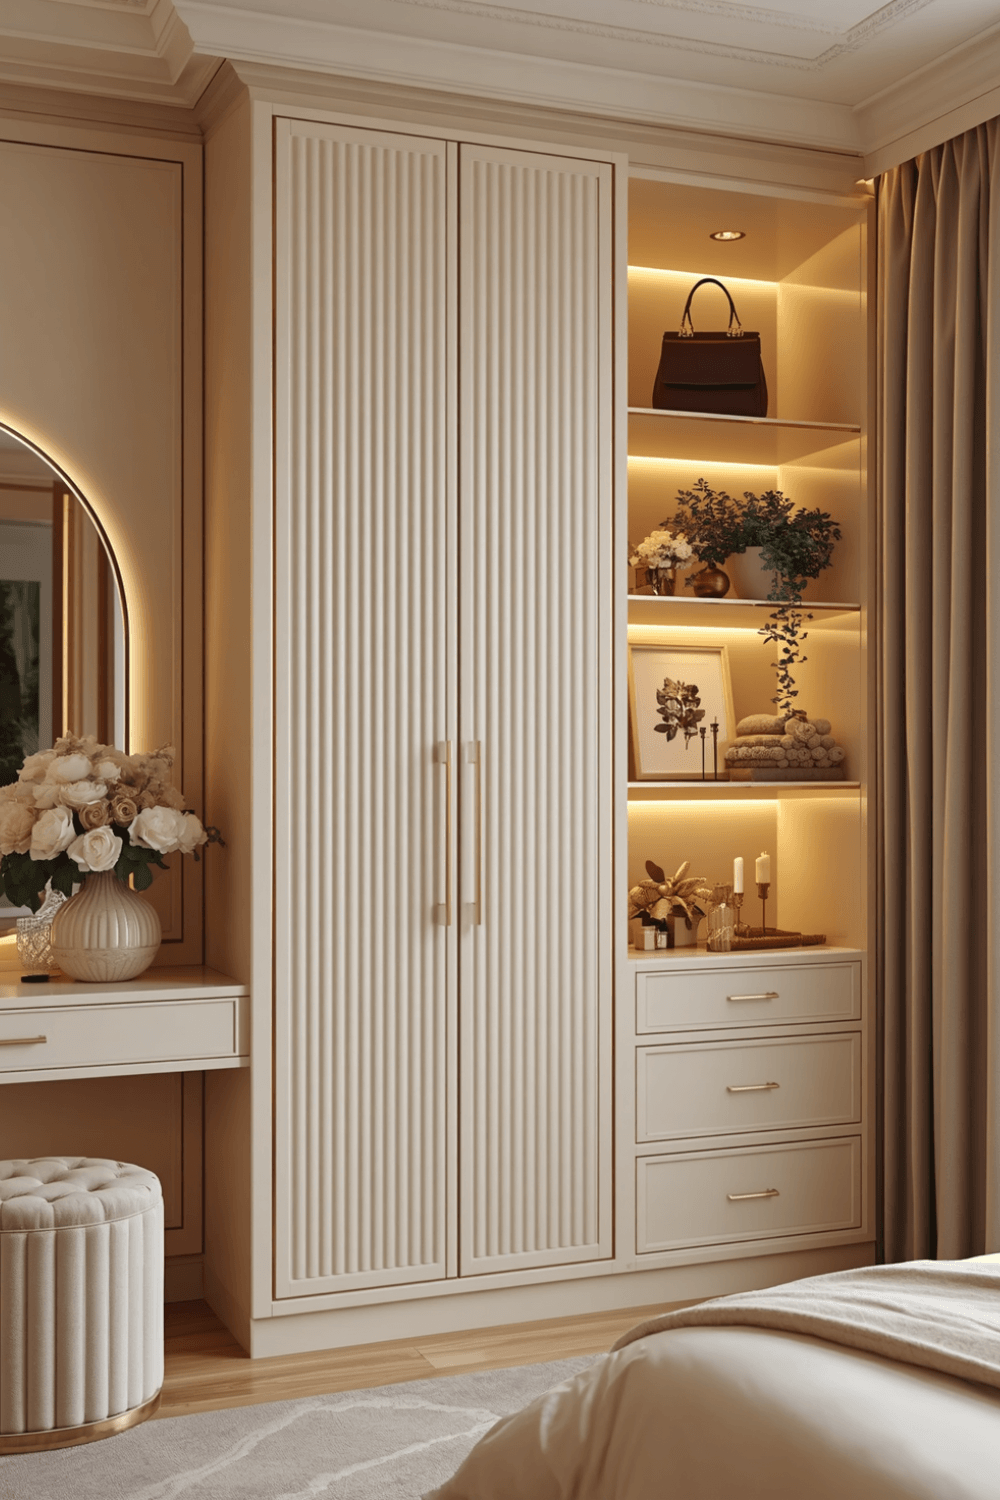
Open shelves looked clean in my original design, but folded items slouched and became messy within days. Switching to soft-close pull-out drawers for smaller folded items and accessories kept everything looking tidy without constant refolding.
6. Light the inside properly, not just the room
I added battery-powered LED strip lighting inside the wardrobe, motion-activated so it turns on automatically when the doors open. It sounds like a small detail, but being able to actually see items in the back of the wardrobe clearly made a bigger daily difference than I expected.
7. Leave room to grow, don’t design at 100% capacity
My first wardrobe was packed edge to edge on day one, which meant it was overflowing within a few months. This time I left about 15% extra space intentionally, and it’s made a noticeable difference in how organized everything stays over time.
Real Examples From People I Know
A friend with a small apartment used a modular wardrobe system from IKEA’s PAX line, which let her mix and match drawer units, shelving, and hanging sections based on her actual space and clothing needs, rather than committing to a single fixed layout. It’s a good option if you want flexibility without a full custom build.
Another friend hired a local carpenter to build a fully custom wardrobe after doing the same clothing audit I eventually did. Because he planned it around his actual belongings first, the finished design ended up needing almost no adjustments after moving in, unlike my first attempt.
Common Mistakes to Avoid
Designing around looks instead of your actual clothing categories. This alone caused most of my original wardrobe’s problems.
Skipping shoe storage entirely. It’s easy to forget until you’re stacking shoeboxes on the floor a few months later.
Using only open shelving for folded items. It tends to look messy fast without drawers or dividers to keep things contained.
Designing at full capacity from day one. Leaving some breathing room prevents the space from feeling cramped as your wardrobe naturally grows.
Forgetting interior lighting. A dark wardrobe interior makes even a well-organized space harder to actually use daily.
Final Thoughts
My wardrobe redesign taught me that “modern” and “functional” aren’t in competition with each other — I just built them separately the first time instead of together. Auditing what I actually owned before redesigning made the biggest difference of anything on this list.
If you’re planning your own wardrobe, resist the urge to design purely off inspiration photos. Sort through what you actually own first, and let that shape the layout. It’s a less glamorous first step, but it’s the one that actually determines whether the finished wardrobe works for your daily life or just looks good for the first two weeks.