Luxury Makeup Vanity Ideas That Actually Work (Real Setup)
Luxury Makeup Vanity Ideas: What I Learned Building One That Actually Works
For years I did my makeup sitting cross-legged on my bedroom floor with a hand mirror propped against a water bottle, squinting under whatever overhead light I had. It worked, technically, but I’d constantly walk outside afterward and realize my blush was uneven or my foundation looked orange under natural light.
When I finally built a proper vanity setup, I went in thinking it was mostly about finding a pretty desk and a nice mirror. I was wrong. The lighting alone took me three tries to get right, and I made a few storage mistakes that drove me a little crazy before I fixed them. Here’s what actually worked, in case you’re setting up your own.
The Lighting Is 90% of the Whole Experience
I cannot say this enough — vanity lighting matters more than literally anything else on this list. My first setup used a single ring light clipped to my mirror, and while it looked fine on camera, it created weird shadows for actually applying makeup in person.
I switched to a Hollywood-style LED mirror with adjustable brightness and color temperature (mine’s a Vanity Girl Hollywood mirror, but there are plenty of similar options), and it fixed almost every issue I had. Being able to shift between warm and cool light settings means I can check how my makeup looks under both indoor lighting and something closer to daylight, which matters a lot if you’re heading out during the day versus for an evening event.
My Early Mistakes (So You Can Skip Them)
My first vanity had zero dedicated storage. I just had a tray of products sitting out, and within a month it looked like a makeup counter explosion. Everything got dusty, I couldn’t find anything, and my good brushes kept rolling off the edge.
My second mistake was placing the vanity right in front of a window. Natural light sounds ideal in theory, but the light changed so drastically throughout the day that my makeup looked completely different depending on what time I did it. Morning light was cool and blue-toned, afternoon light was warm and orange-toned, and I never knew which version was “accurate.”
Step-by-Step: Building a Luxury Vanity That Actually Functions
1. Pick your lighting before your furniture
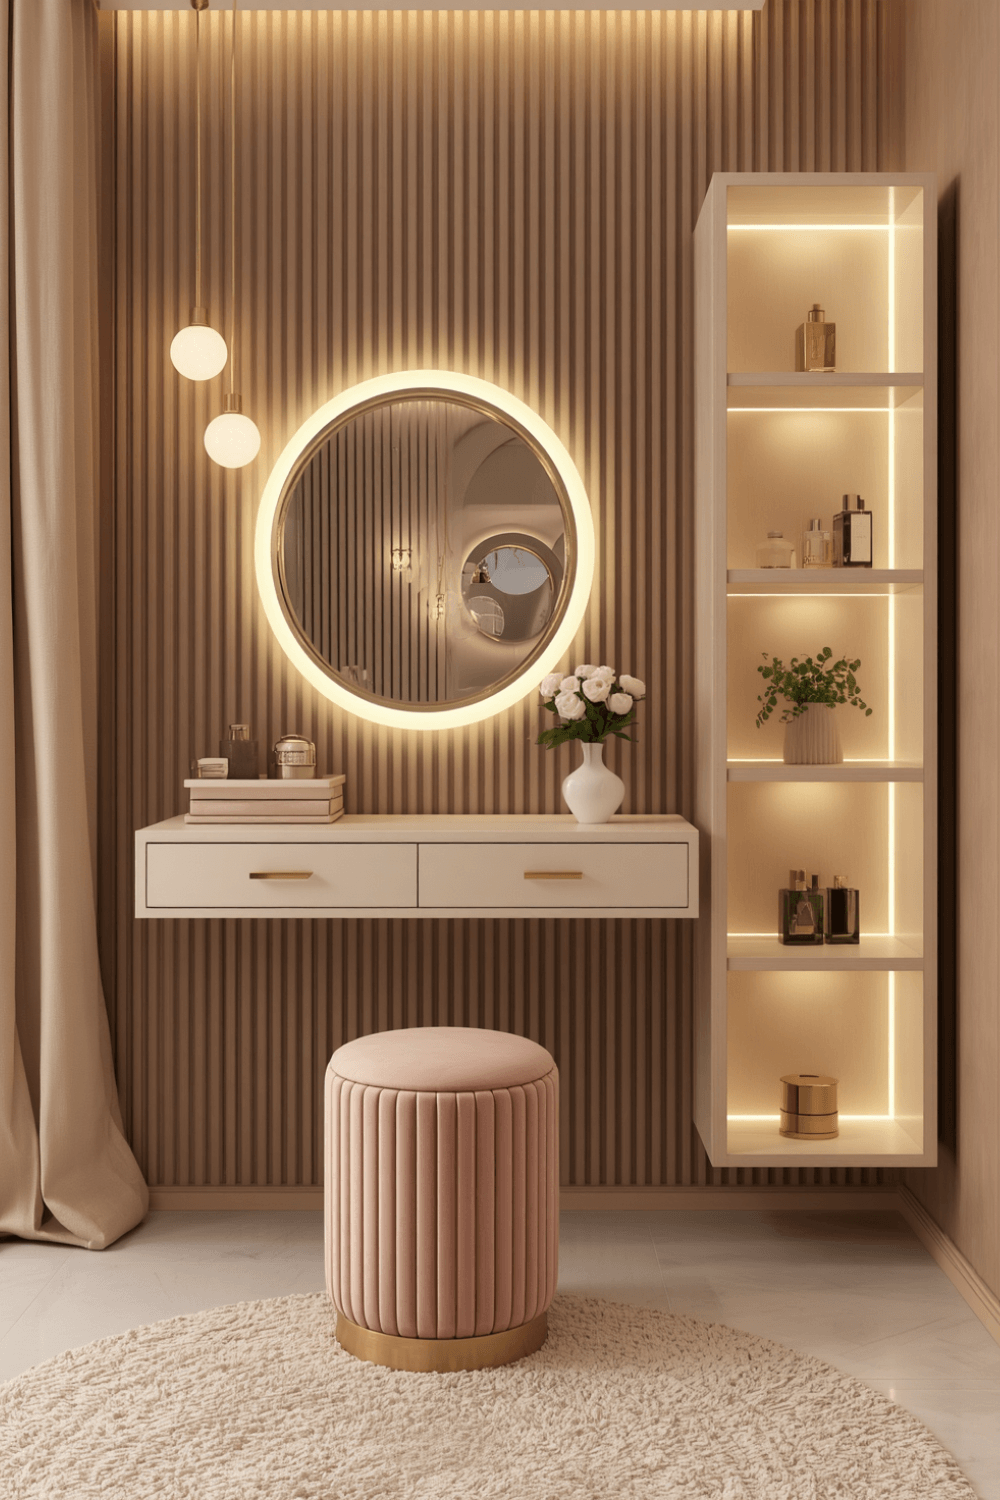
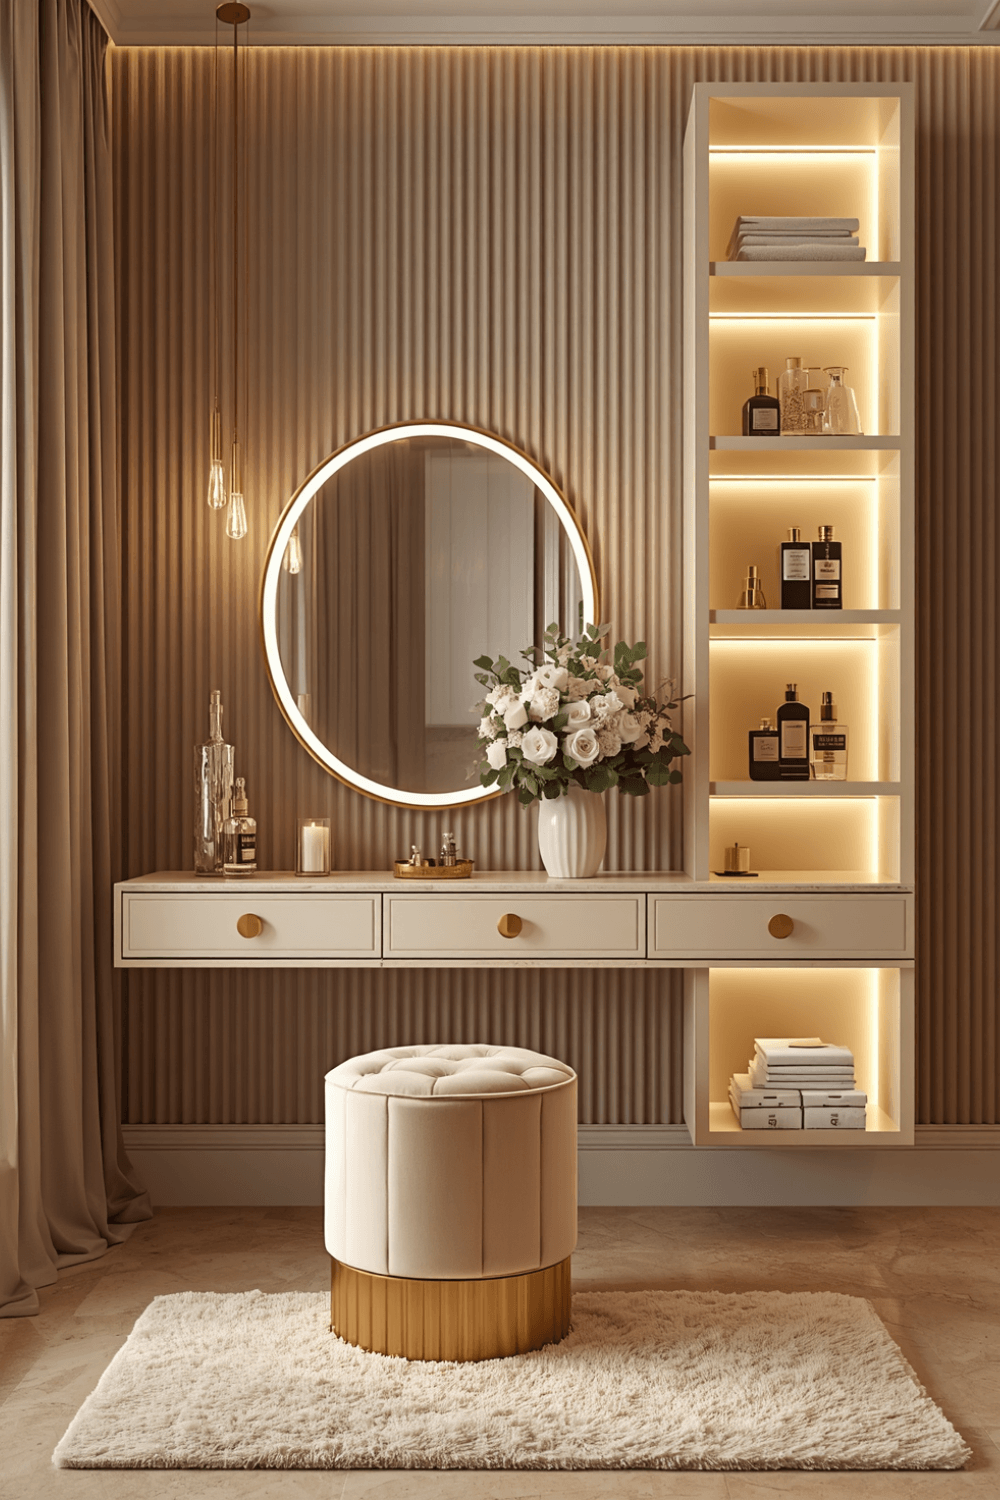
Decide on your mirror and light setup first, then build everything else around it. I’d genuinely recommend a lighted mirror with adjustable color temperature over relying on room lighting or a window. It’s the single upgrade that made the biggest difference for me.
2. Position it away from direct window light
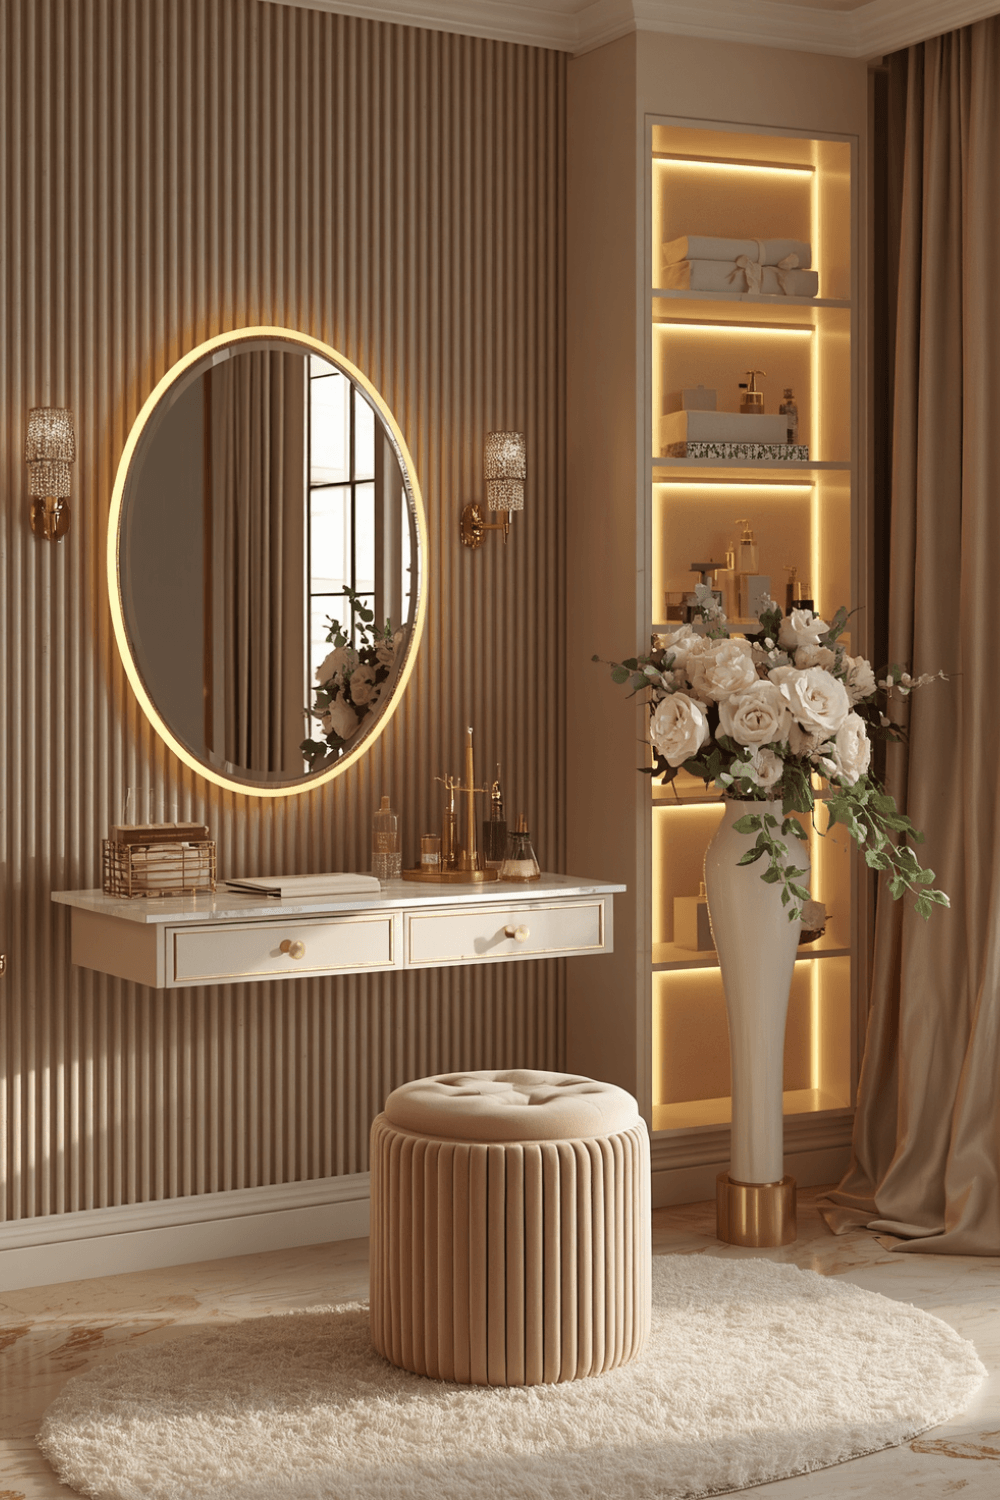
If you can, place your vanity perpendicular to a window rather than directly in front of it or with your back to it. This gives you consistent lighting from your mirror without harsh, shifting natural light throwing everything off.
3. Get real storage, not just a tray
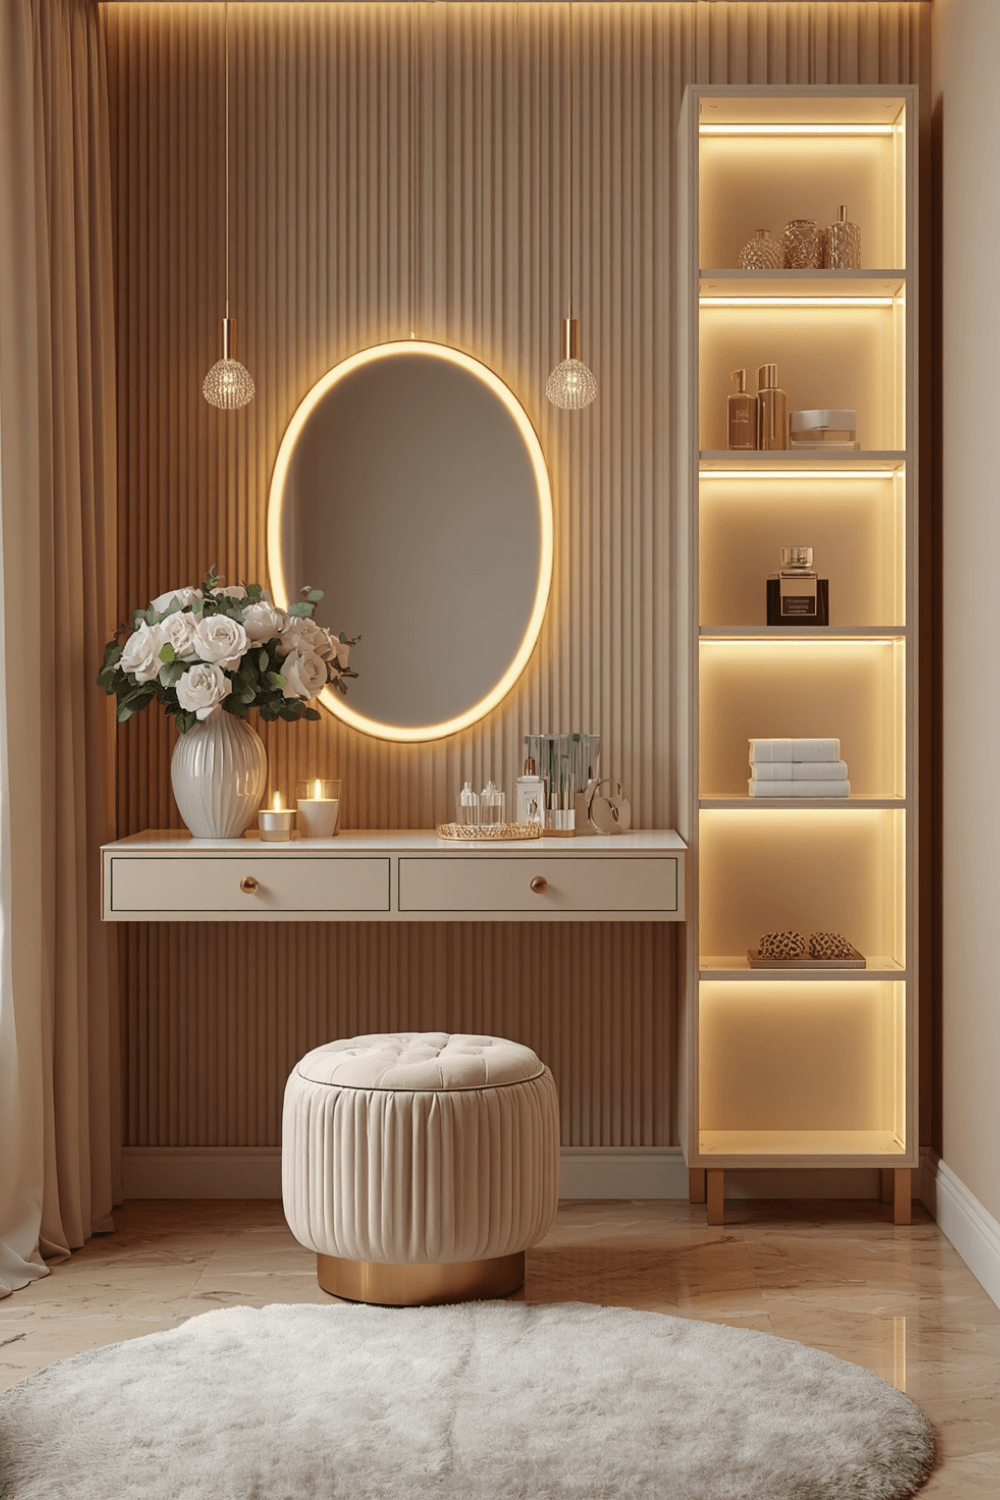
I added a small acrylic drawer organizer inside the vanity desk for daily products, plus a rotating countertop organizer for brushes so nothing rolls away. Anything I don’t use daily goes into labeled bins underneath instead of staying out and collecting dust.
4. Use a stool that actually adjusts
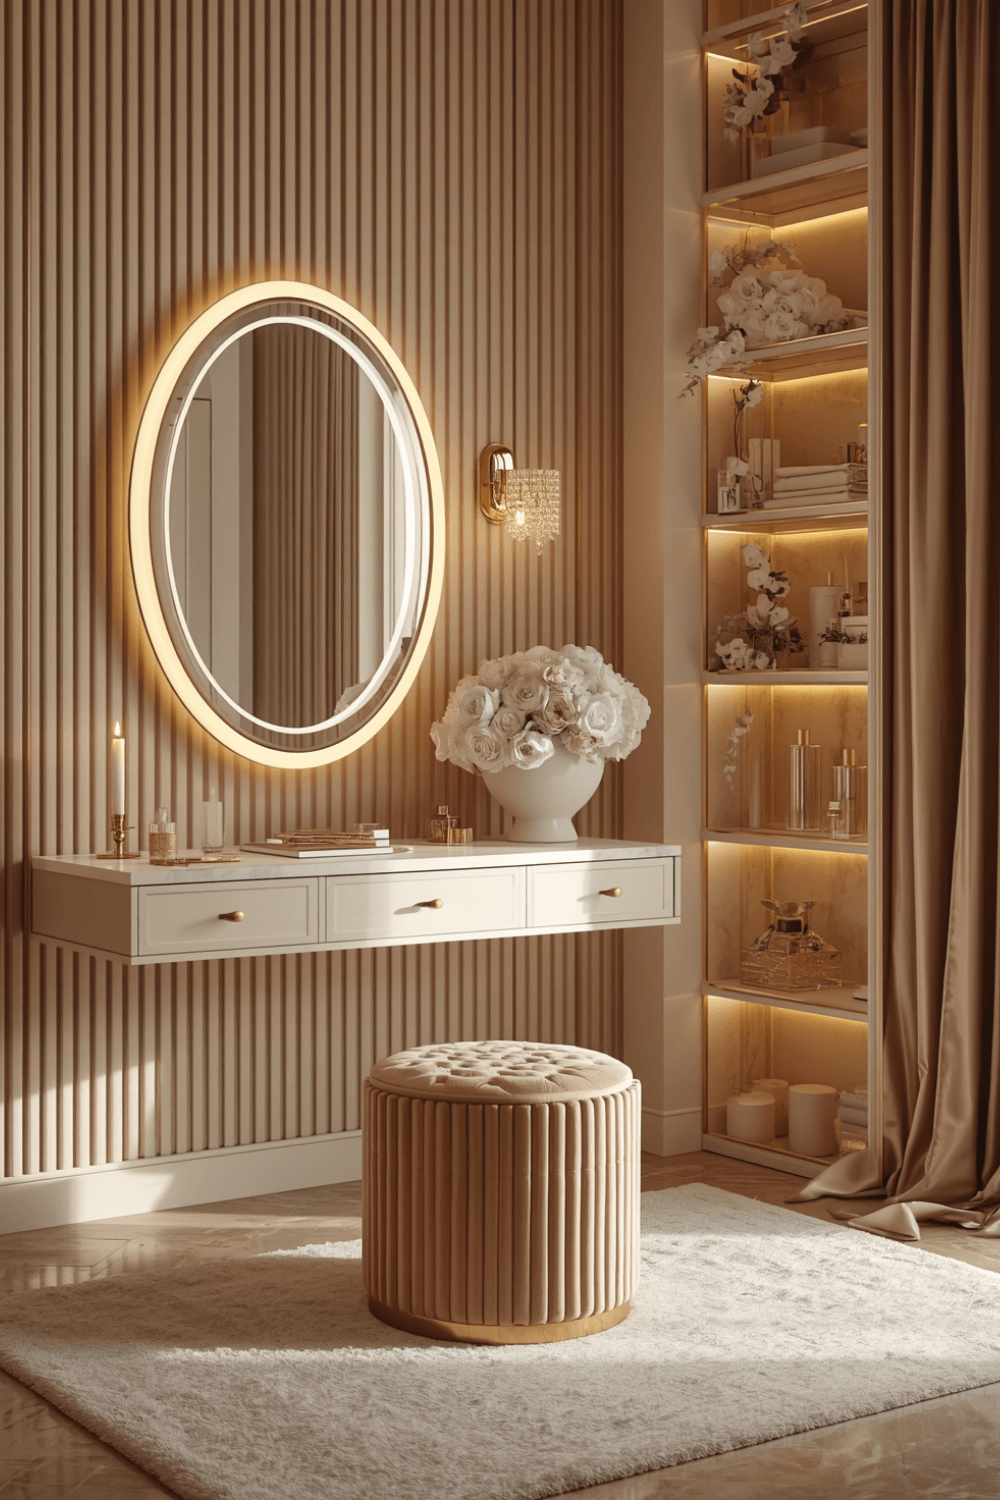
I initially used a decorative chair that looked great in photos and was miserable to sit in for a twenty-minute makeup routine. I swapped it for a simple adjustable vanity stool with a cushioned top, and it made a bigger comfort difference than I expected.
5. Add a designated spot for tools you use daily
Curling iron, straightener, whatever your daily tools are — give them a specific spot instead of letting them live in a drawer somewhere else in the house. I mounted a small heat-resistant holder on the side of my vanity for my curling wand, and it’s genuinely one of the small changes I use every single day.
6. Layer in a few personal touches, not clutter
A small tray for jewelry, one candle, maybe a small plant. I learned the hard way that “luxury” doesn’t mean covering every surface in decor. Keeping most surfaces clear actually makes the space feel more expensive, not less.
7. Test your finished makeup look in multiple lighting conditions
Even with great vanity lighting, I still double-check my makeup near a window or in my car mirror before I leave for something important. No mirror setup perfectly replicates outdoor daylight, so this quick check has saved me a few uneven-blush situations.
Real Examples From People I Know
A friend of mine built her entire vanity setup inside a repurposed closet, using a slim desk, a lighted mirror mounted to the back wall, and floating shelves for storage. It’s maybe four feet wide total, but because the lighting and organization are dialed in, it functions better than plenty of larger setups I’ve seen.
Another friend added a small bluetooth speaker and a phone stand to her vanity so she can watch tutorials or listen to music while getting ready. It’s a small addition, but she says it turned her morning routine from a rushed task into something she actually looks forward to.
Common Mistakes to Avoid
Relying only on room or window lighting. It shifts throughout the day and rarely gives you a consistent, accurate view of your makeup.
Skipping dedicated storage. Products left out on open trays get dusty fast and make the whole space look cluttered within weeks.
Choosing style over comfort for your seat. You’ll notice an uncomfortable stool every single day, far more than you’ll notice how it looks in photos.
Overdecorating the surface. A vanity covered in knick-knacks stops feeling like a functional beauty station and starts feeling chaotic.
Not testing your makeup in outside light before big events. Vanity lighting is great for application, but a quick daylight check catches things indoor lighting can miss.
Final Thoughts
Building a vanity that actually works came down to a few decisions I almost skipped — the lighting setup, real storage instead of an open tray, and a stool that didn’t punish me after ten minutes. It doesn’t need to be elaborate or expensive to feel like a proper beauty station.
If you’re setting up your own, start with the mirror and lighting, then build the storage and seating around it. That order alone will save you from redoing half the setup later, the way I ended up doing.