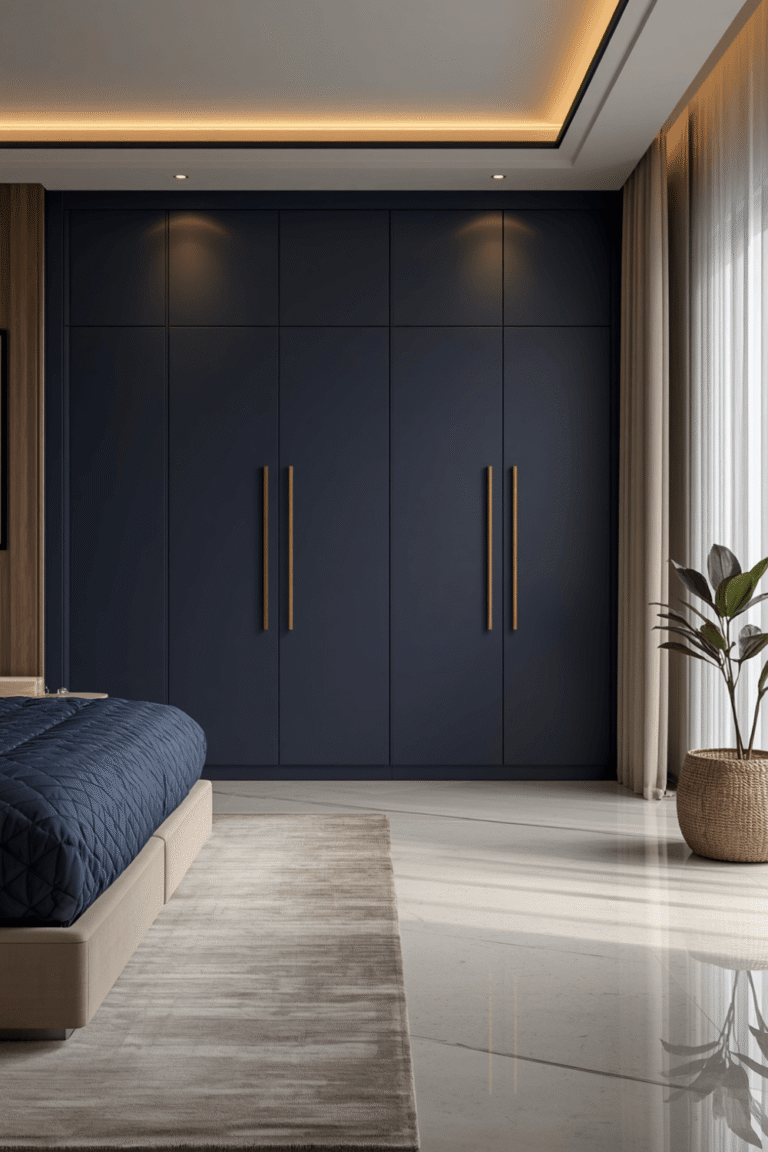
Luxury Wardrobe Design Ideas That Actually Work Long-Term
Luxury Wardrobe Design: What I Learned After Getting It Wrong the First Time
The first time I paid for a custom wardrobe, I thought luxury just meant more, more shelves, more hanging rods, more glossy finish. I picked a high-gloss white design because it looked expensive in the showroom, spent way more than I planned, and within a month I genuinely disliked opening it. Fingerprints everywhere, awkward shelf heights that didn’t fit anything I actually owned, and a layout that looked great empty but fell apart the second I put my real clothes in it.
That experience taught me something I didn’t expect: luxury wardrobe design has almost nothing to do with how expensive the materials look and everything to do with whether the thing actually functions for how you live. I ended up redoing the whole layout eighteen months later, and this time I did it right.
If you’re planning a wardrobe upgrade, whether that’s a full built-in or just a serious closet redo, here’s what I actually learned getting it right the second time.
Luxury Isn’t About the Finish, It’s About the Fit
My first wardrobe looked luxurious in photos. High-gloss lacquer, brass handles, soft-close doors. But none of that mattered once I realized the shelves were too shallow for my folded sweaters and the hanging rod was positioned so my longer coats dragged on the floor.
The redo taught me that real luxury in a wardrobe comes from precision, everything fits exactly what you own, with room to spare, not from how shiny the doors are.
1. Inventory what you actually own before designing anything
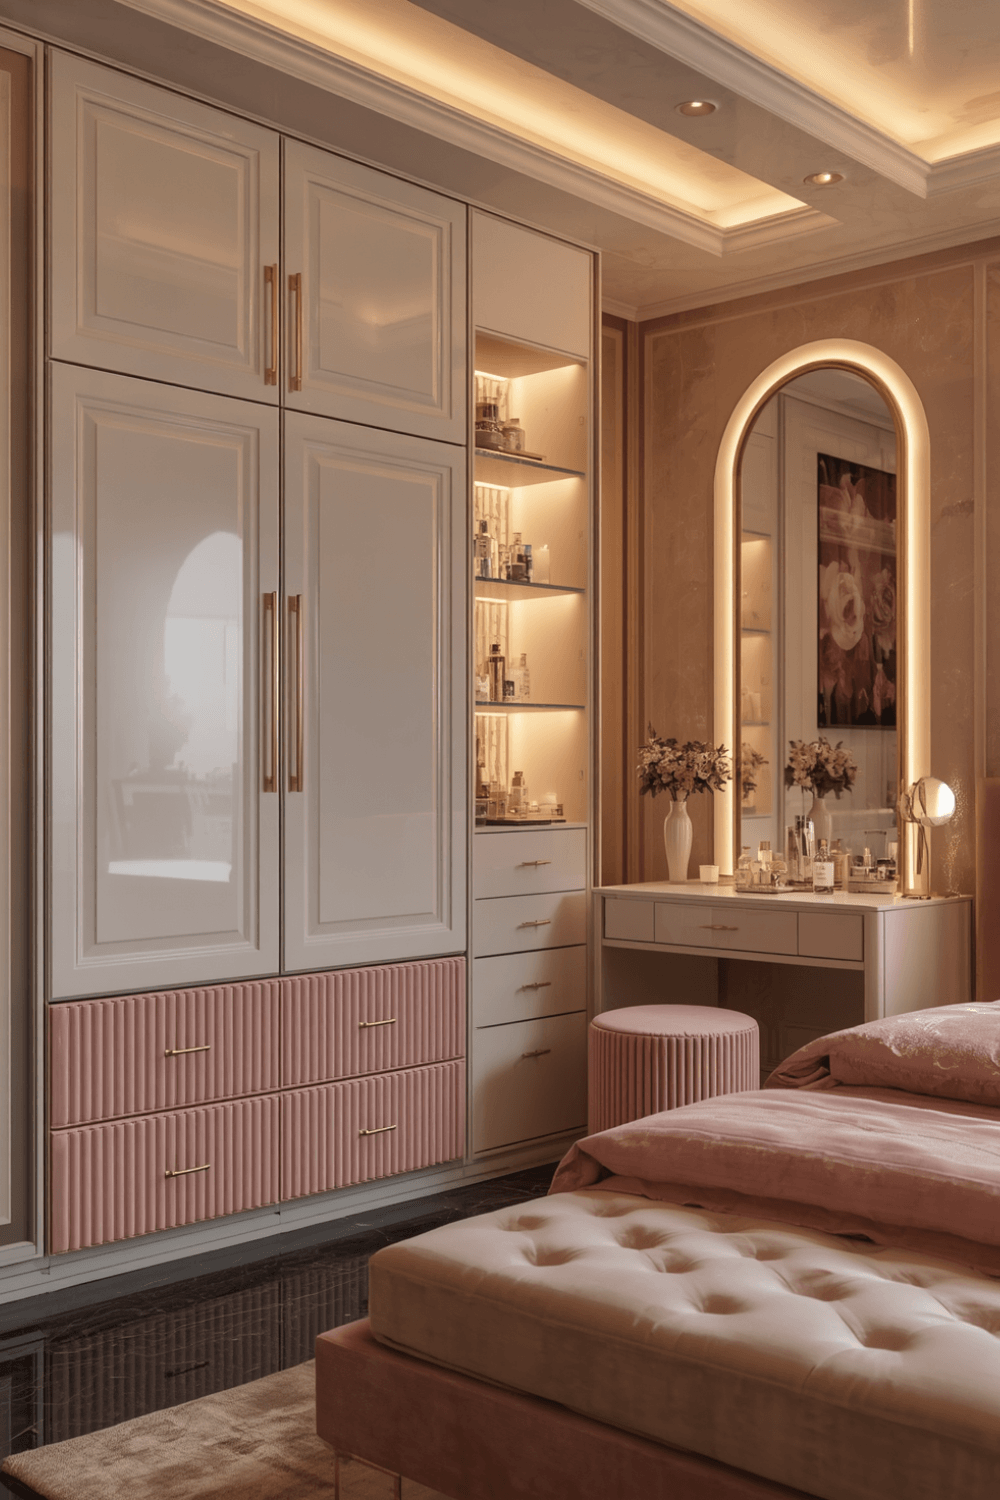
This sounds tedious, but skipping it is exactly what wrecked my first wardrobe. I counted my hanging items separately from folded items, counted shoes, bags, and accessories, and measured a few of my bulkiest items (winter coats, folded sweaters) before agreeing to any layout. My designer the second time around used a simple tape measure and a notebook, nothing fancy, but it made every measurement in the final design actually match my real wardrobe instead of a generic template.
2. Mix hanging heights instead of one long rod
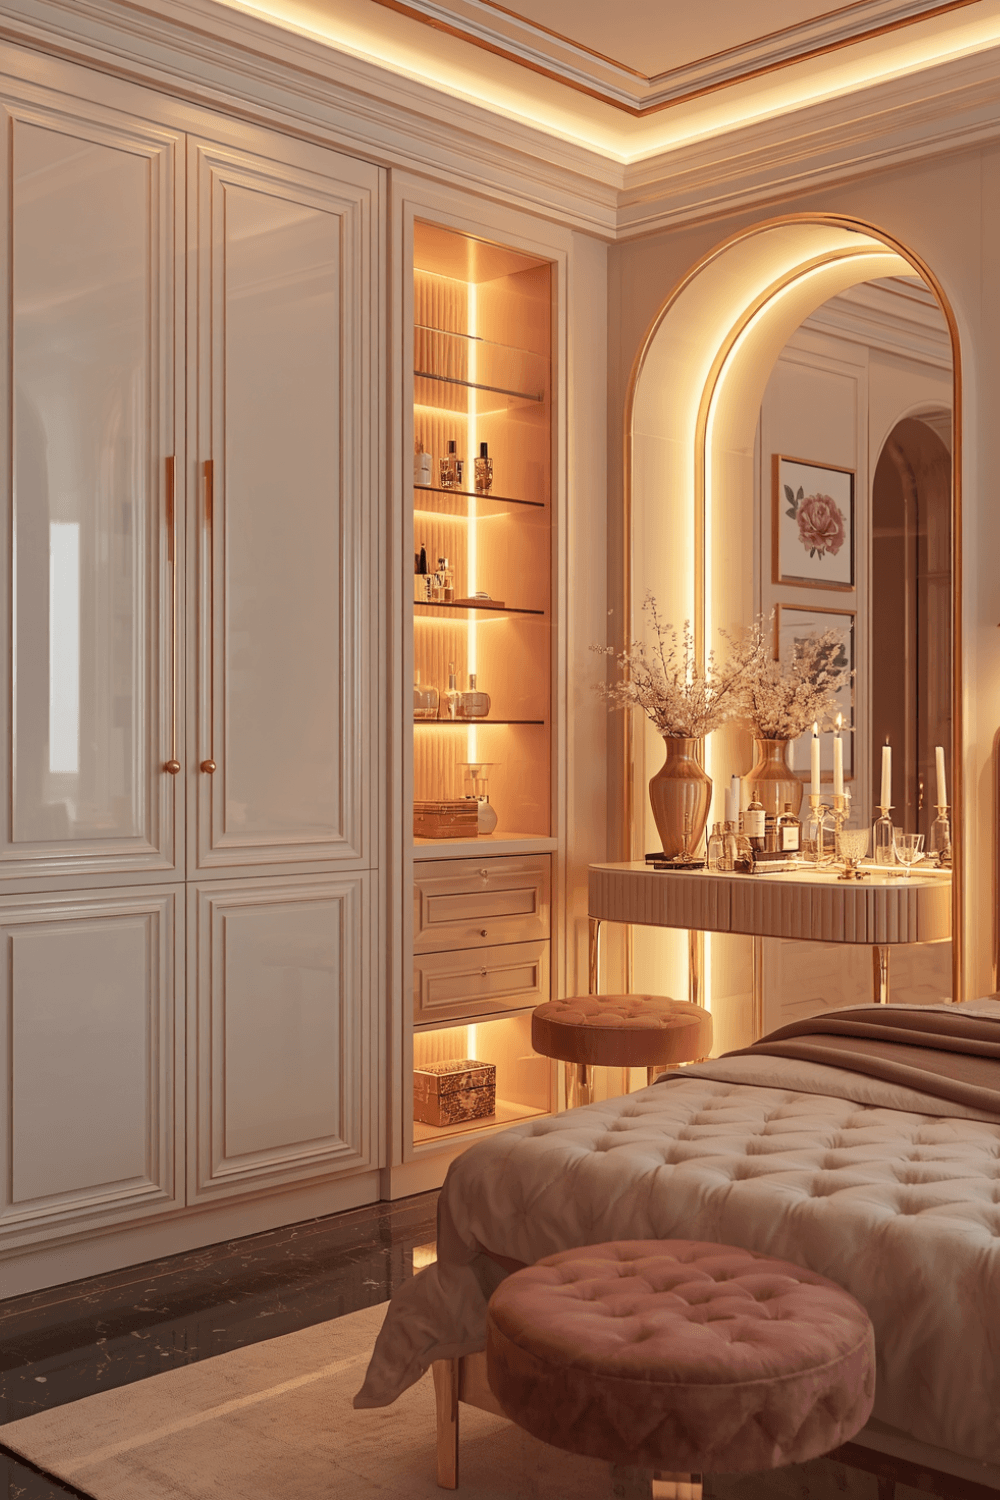
My first version had one continuous hanging rod at a single height. It wasted a huge amount of vertical space above shorter items like shirts and blouses. The second time, we split it into double-hang sections for shorter clothes and a single long-hang section just for dresses and coats, which freed up enough space for an entire extra shelf column.
3. Prioritize drawers over open shelves for anything you fold
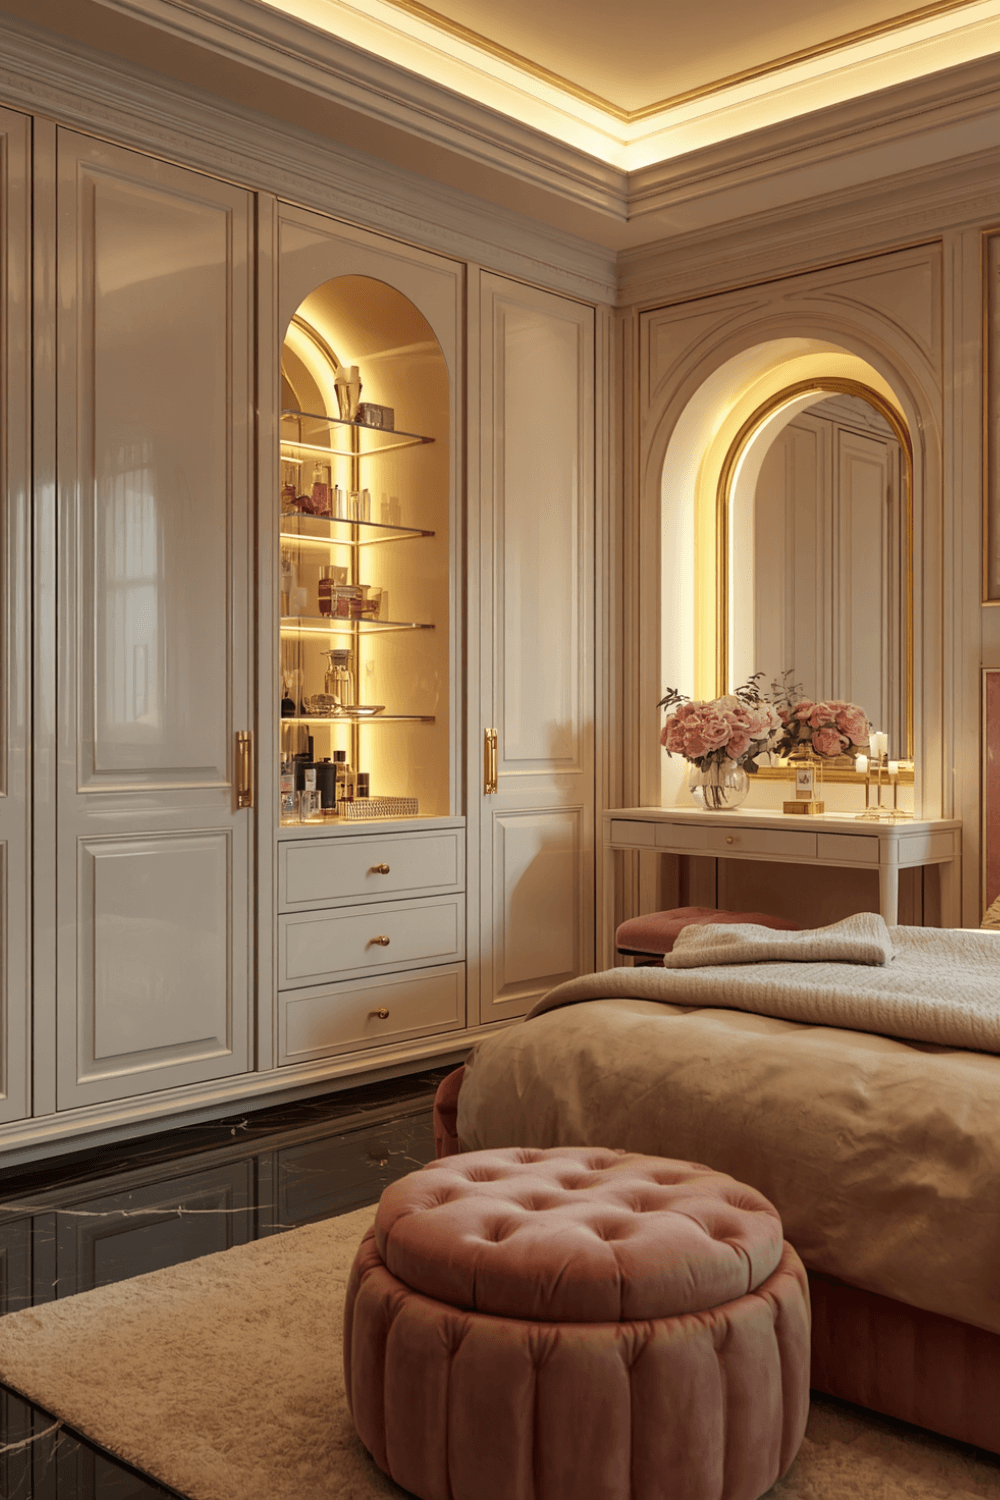
Open shelves look beautiful in showroom photos. In real life, folded stacks slump and get messy within a week unless you’re extremely disciplined. I switched most of my folded storage to soft-close drawers with dividers, and it’s stayed neat with basically zero effort on my part.
4. Get the lighting inside the wardrobe, not just around it
This was the single upgrade that made the biggest difference in how “luxury” the wardrobe actually felt day to day. I added battery-powered LED strip lights (the motion-sensor kind, no wiring needed) along the inside edges of the shelving. Suddenly I could actually see what I owned in the back corners instead of digging around with my phone flashlight like I used to.
5. Add a mix of matte and reflective surfaces, not all gloss
My first wardrobe was fully high-gloss, which looked sleek in the showroom but showed every fingerprint and dust speck within days. The redo used matte cabinetry with just one mirrored panel on the inside of a door. It gave me the reflective element I wanted without the constant smudge-cleaning.
6. Leave breathing room, don’t max out every inch
I made this mistake originally too, cramming in as much storage as physically possible. It looked impressive on paper but felt cramped and hard to actually use. The redesign left about 15% of the space intentionally open, one empty shelf, a bit of extra rod length, and it’s made a real difference for adding new pieces without a full reorganization every time.
7. Match hardware to the rest of your room, not just the wardrobe
Small detail, but it matters more than you’d think. My first wardrobe had brass handles that clashed with the matte black fixtures everywhere else in my bedroom. The second time, I matched the wardrobe pulls to my existing black hardware, and the whole room finally felt like one cohesive space instead of two separate design decisions.
A Real Example: My Wardrobe Now
Right now my wardrobe has a matte oak finish with matte black pulls, a mix of double-hang and single-hang sections, four soft-close drawers with dividers for folded items, one mirrored interior door panel, and battery LED strip lighting along the top shelf. Total cost for the redo was around, which sounds like a lot until you compare it to my first attempt, which cost more and I actively disliked using.
The difference isn’t really visible from a photo. It’s in how it actually feels to get dressed every morning without hunting for things or wrestling a stuck drawer.
Common Mistakes to Avoid
Designing around photos instead of your actual clothes. A gorgeous layout that doesn’t match what you actually own falls apart within weeks. Measure your real items first.
Choosing all-gloss finishes without thinking about maintenance. High-gloss looks stunning under showroom lighting but shows every fingerprint and requires constant wiping down.
Cramming in maximum storage. Leaving a little breathing room actually makes a wardrobe feel more luxurious and more usable than packing every inch full.
Skipping interior lighting. A beautifully designed wardrobe you can’t actually see into properly loses most of its function, especially in darker corners or lower shelves.
Ignoring hardware consistency. Mismatched handles and pulls between your wardrobe and the rest of the room create a disjointed feeling even if each piece looks nice individually.
Treating hanging space as one uniform section. Different clothing lengths need different rod heights. One long rod for everything wastes a shocking amount of usable space.
Final Thoughts
The wardrobe that actually feels luxurious isn’t the one with the shiniest finish or the most eye-catching handles. It’s the one that fits exactly how you get dressed every day, without friction, without digging around, without things falling out of a shelf that was never quite right for them.
If your current wardrobe looks nice but never quite feels right to use, it’s probably not about upgrading the finish. It’s about redesigning the fit.